
Using panels
The Novel Factory is made up of a number of different sections, including Premise and Synopses, Plot Manager and Subplot Manager. Each section can be accessed via the main navigation menu on the left-hand side.
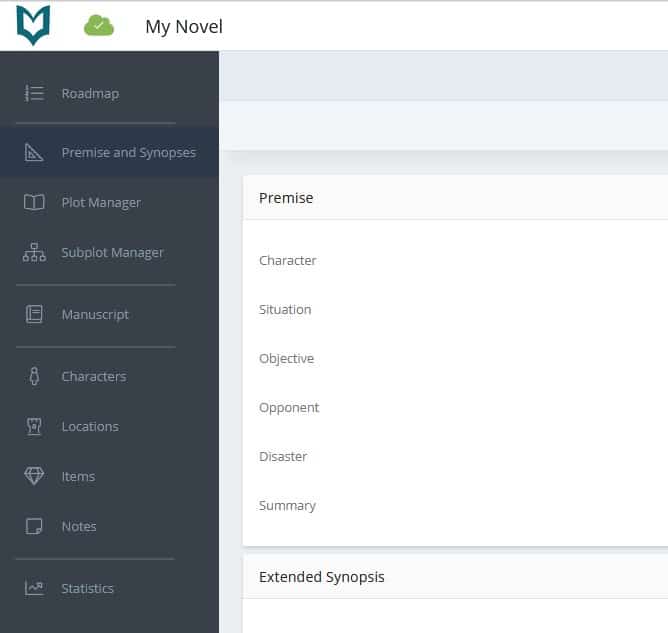
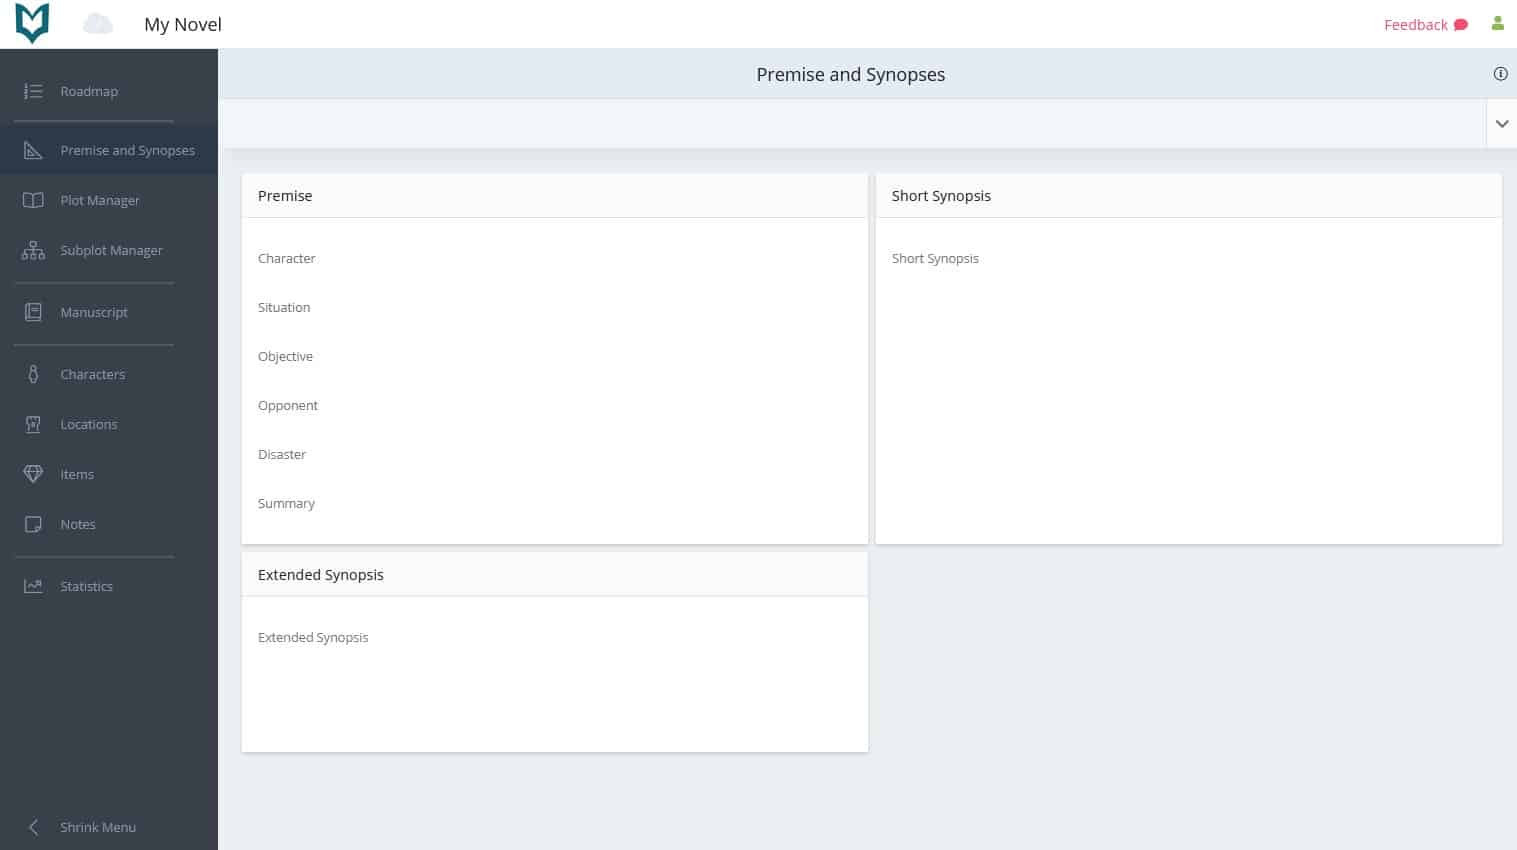
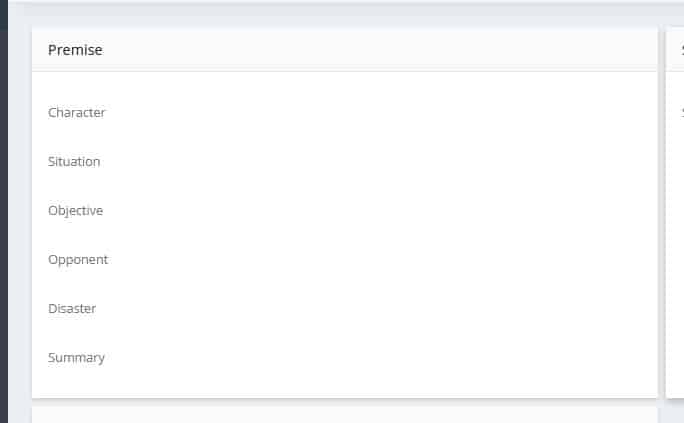
Within each of these sections, the data is further organised into panels. For example, in the Premise and Synopses section, you will find panels for Premise, Short Synopsis and Extended Synopsis.
Editing the content of a panel
In order to edit a panel, simply hover over it with your cursor and click the edit button that appears in the top right. On mobile devices and tablets this button will always be visible.
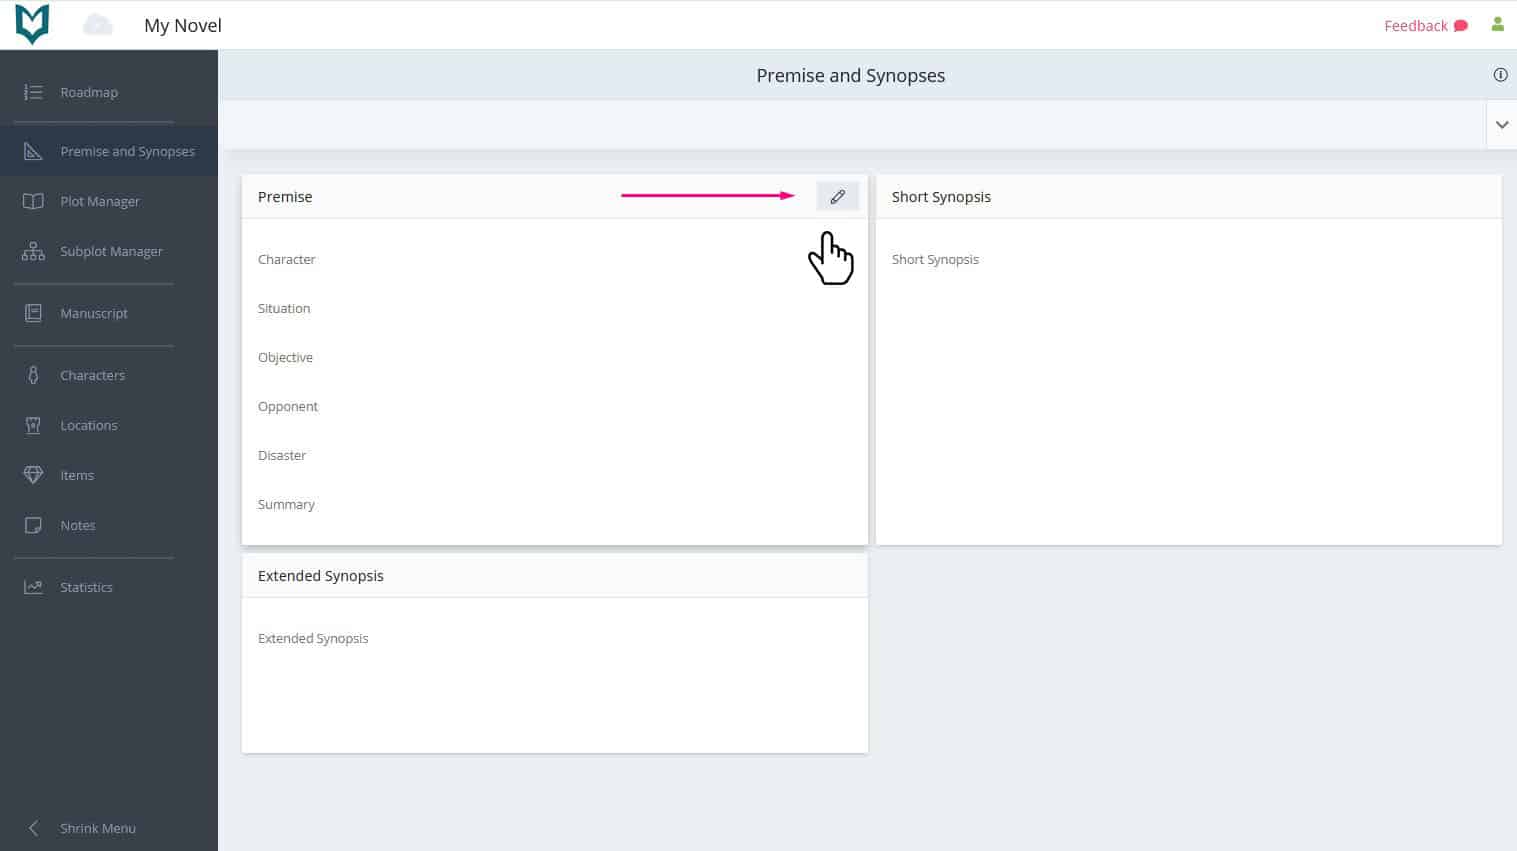
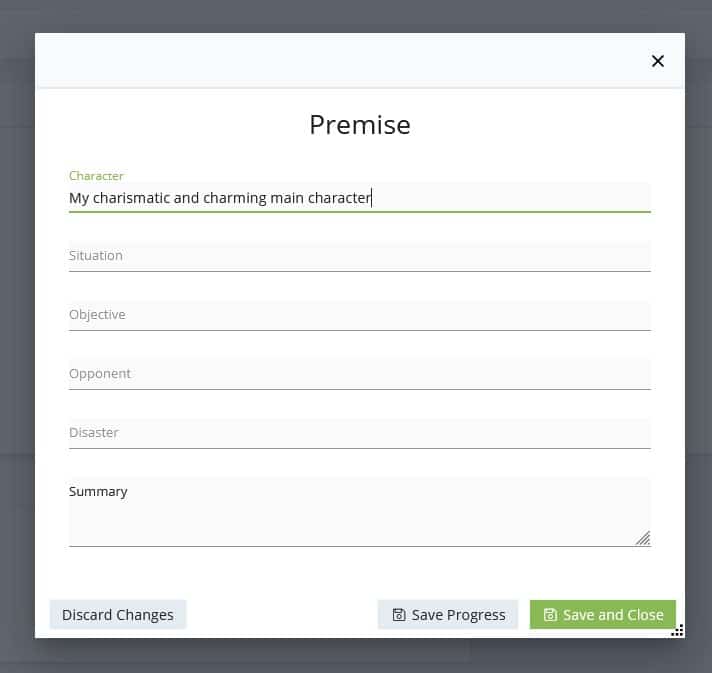
When you click the edit button, the panel will be become editable, and you can type directly in the fields.
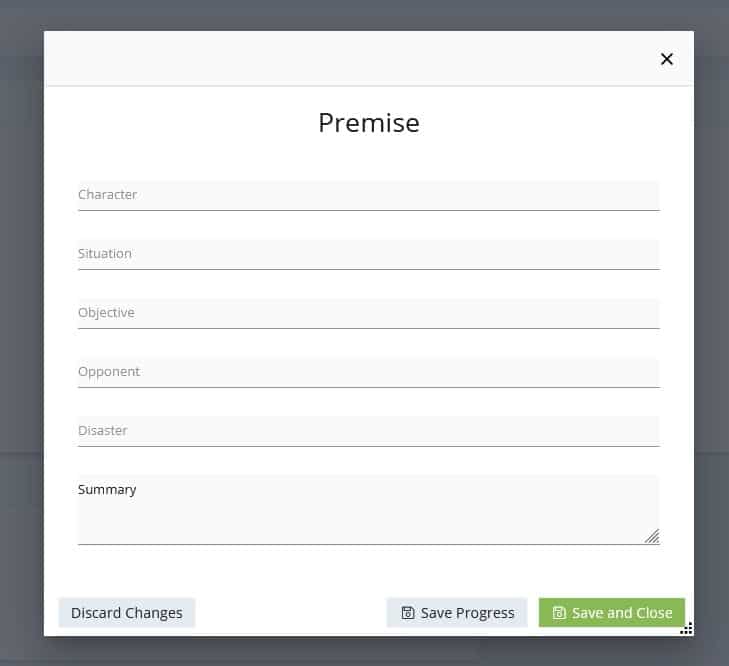
There are three buttons at the bottom of most panels: Discard Changes, Save Progress and Save and Close.
Discard changes disregards any changes you have made and reverts to the version you had before you clicked ‘edit’. This can be useful if you make a lot of changes but then realise you’ve changed your mind about what you’re doing.
Save Progress saves your progress, but keeps the panel in edit mode. This is useful if you’re making a lot of changes, and want to be certain they have been saved to the server (or your local machine, if you’re working offline). If you don’t click ‘Save Progress’ then your changes will not be saved until you close the panel.
Save and Close saves your progress and closes the panel, allowing you to continue with a different panel or section.
Note: if you click outside of the panel while it is in edit mode, it has the same effect as ‘Save and Close’. Likewise, if you click the close button in the corner, the software works on the assumption you are more likely to want to save your changes than discard them, so it will save and close.
Viewing the content of a panel
The Novel Factory does some clever streamlining to ensure your interface is always as clean and uncluttered as possible. This is to help minimise distractions and support your creative flow.
So, before you have entered anything in a panel, it will show you all the fields which are available to edit.
However, as soon as you have edited and saved your data, only the fields which you have completed will display.
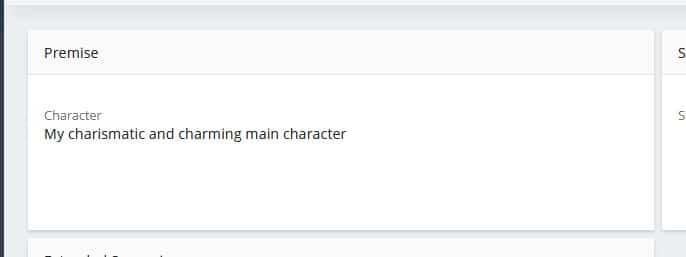
This keeps the interface streamlined, by hiding superfluous words, and making it easier to see the data you’ve entered.
When you go into edit mode again, all the fields will be shown again.
Choosing which panels to display or hide
You can decide which panels you’d like to show in any given section.
This is particularly useful in sections with a large number of panels, such as the Characters section.
To change the displayed panels, click the Show/Hide Panels button in the toolbar. This is an icon which looks like an eye:
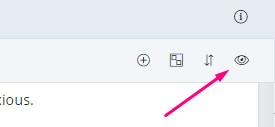
This will bring up a pop-up with a list of all available panels for that section – both classic panels (the default ones provided for you by The Novel Factory) and custom panels (ones you have created yourself).
Note: The Basic Details, Gallery and Character Viewpoint Synopsis panels are non-standard and it is not currently possible to hide or reorder these. If this is something you would particularly like, please contact us with your request to get it bumped up the priority list.
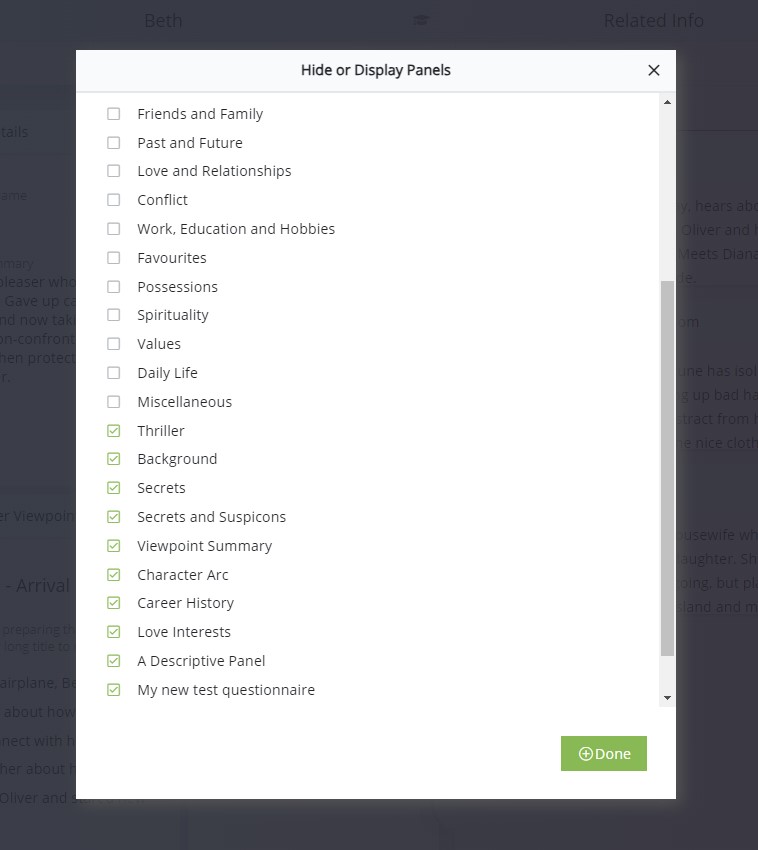
To have a panel displayed, keep the box checked. To hide the panel, uncheck the box. When you are happy, click ‘Done’.
Note that in the case of characters, locations and items, this customisation will apply to the specific character, location or item you are viewing. It will not affect other characters, locations or items.