
Manuscript
The Manuscript section is the most important part of the software, as this is where you write your novel.
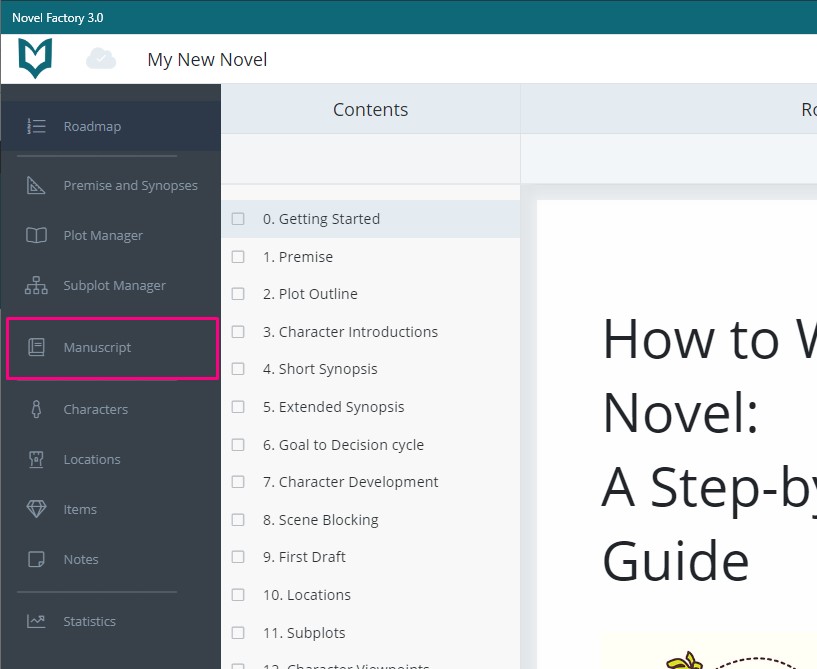
You can get to the Manuscript section by clicking the icon in the left-hand menu that looks like a hardback book.
The main part of the Manuscript is a word processor, but there are also lots of other useful tools to help you as you write.
![]()
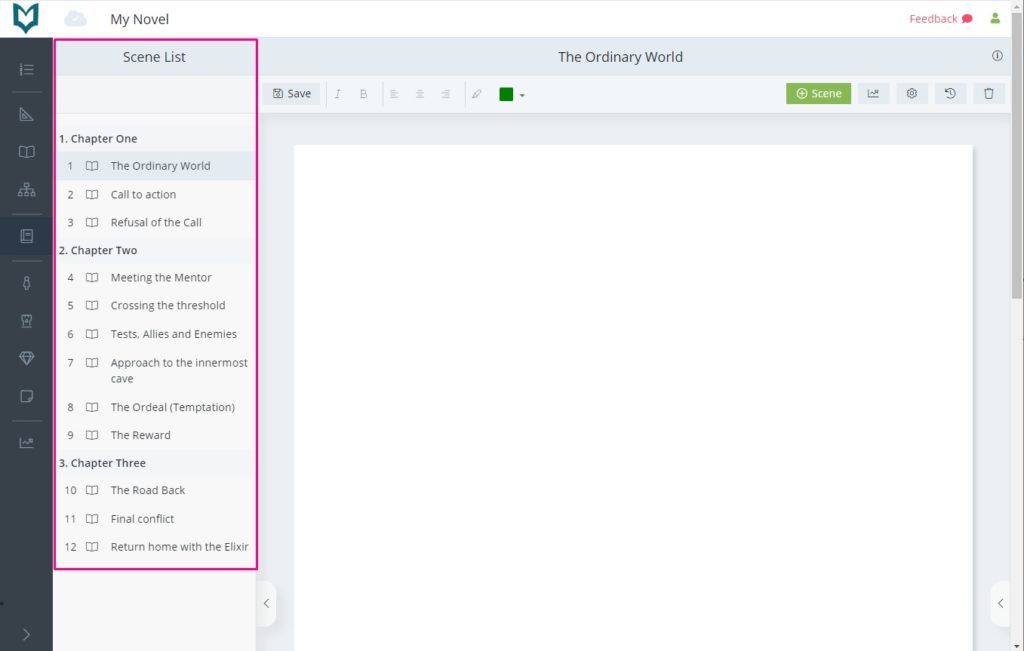
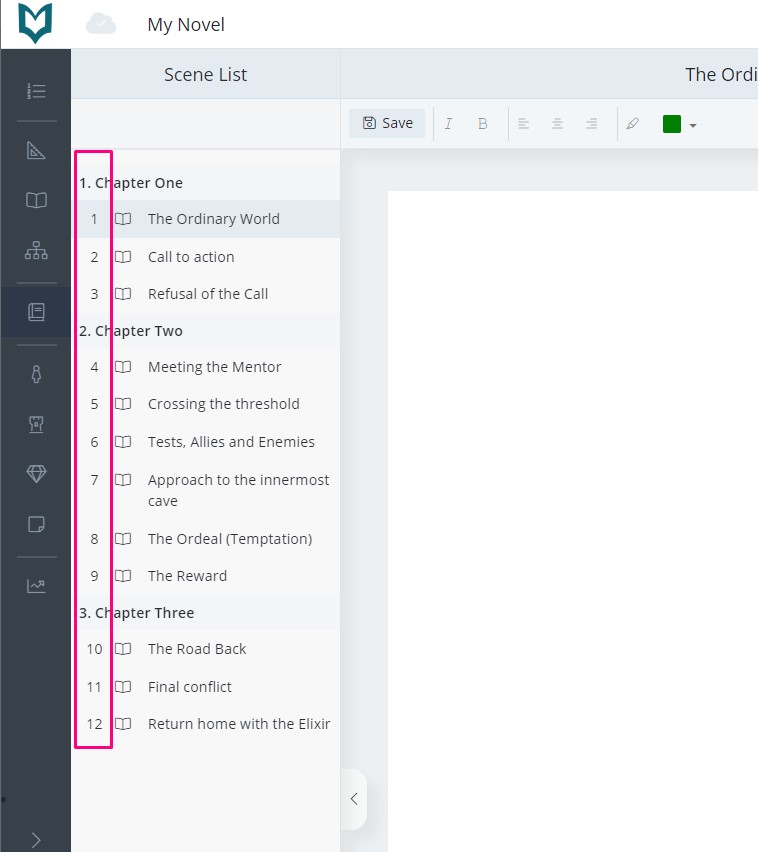
The Scene List
On the left hand side of the Manuscript section is the Scene List. This shows all of your scenes and chapters.
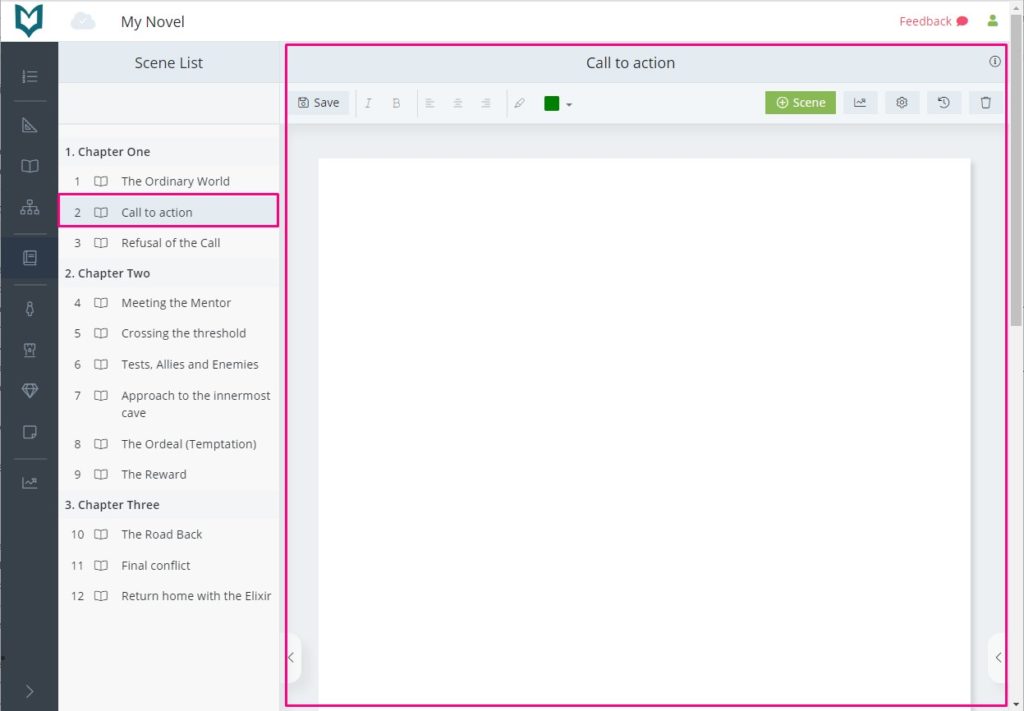
If you can’t see the scene list, click the little arrow tab towards the bottom right to expand it. (You can also hide it at any time by using the same button.)
When you click on a scene in the Scene List, it is shown in the main word processor area. You can tell which scene is currently selected as it will be highlighted in the Scene List in a slightly darker colour.
Scenes are automatically numbered, and the numbering updates automatically if you add new scenes or shuffle existing ones.
The word processor
The word processor works like most others. You can type in it and use the rich text editing tools at the top to apply italics, bold, text alignment and text highlight (more rich text editing options will be added soon).
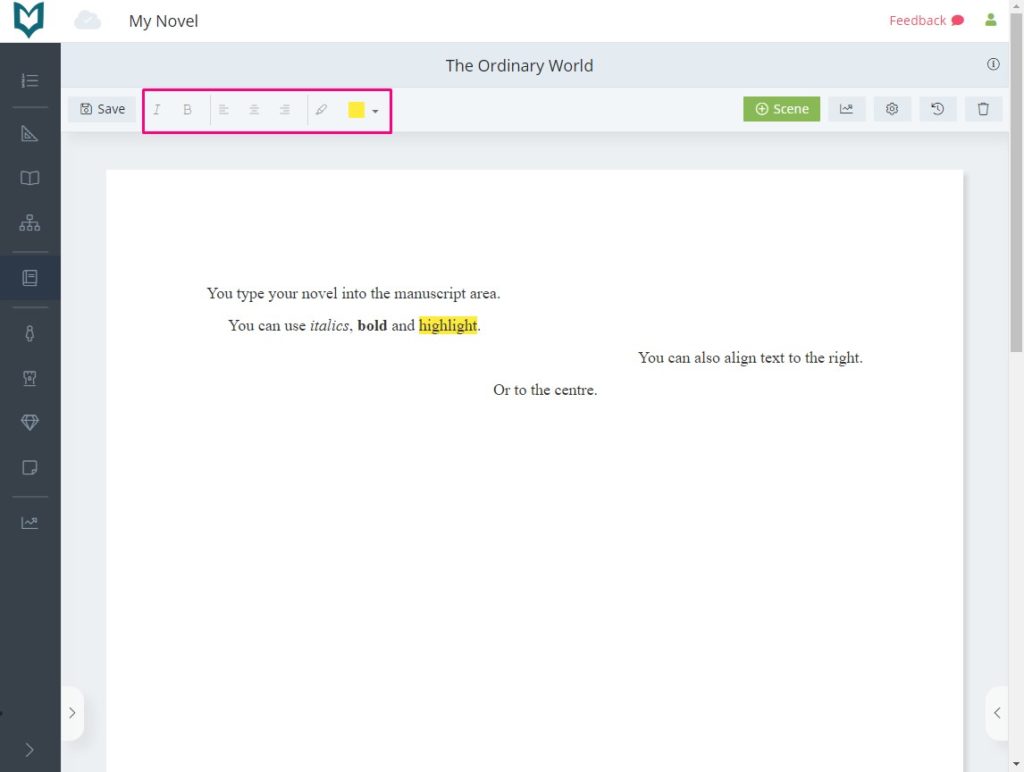
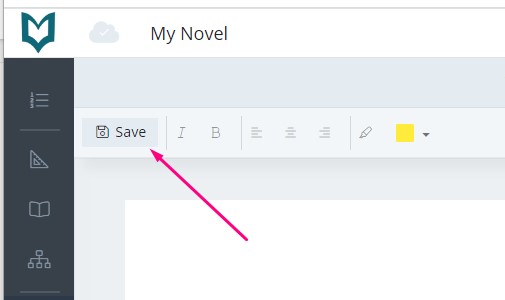
There is also a save button. The Novel Factory autosaves your work at frequent intervals. However, you can also use this button if you want to manually prompt a save.
Adding new scenes
To add a new scene, click the green ‘add Scene’ button.

The new scene will be added beneath the currently selected scene, and will be selected.
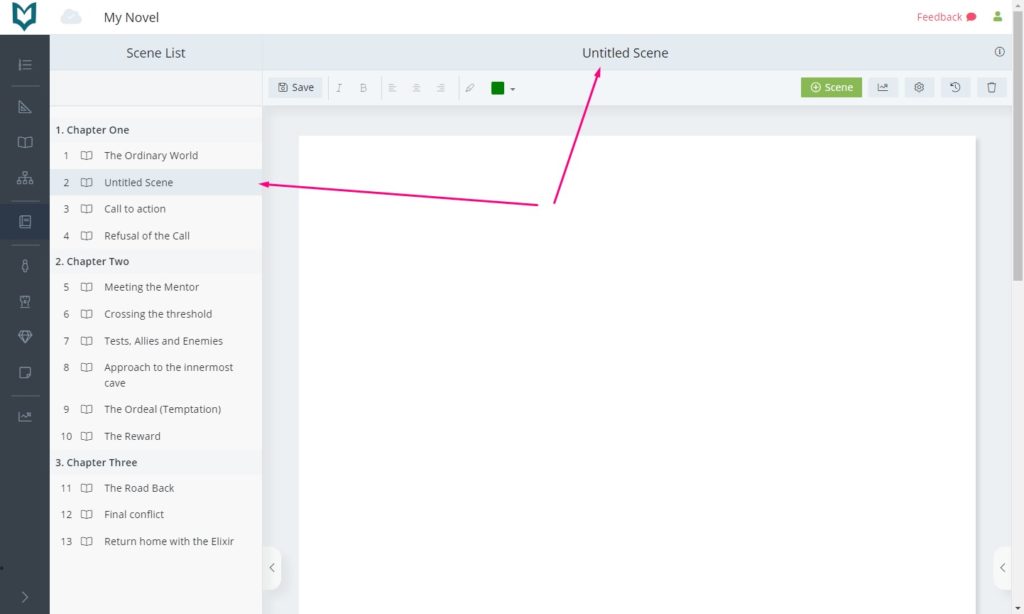
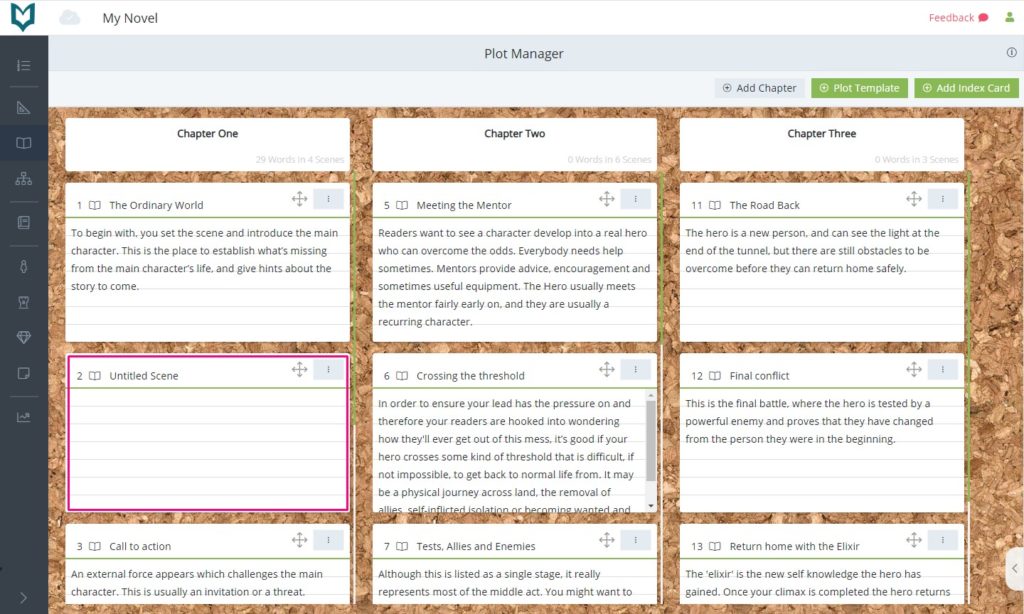
Note: when you add a new scene in the Manuscript section, a corresponding index card is also created in the Plot Manager.
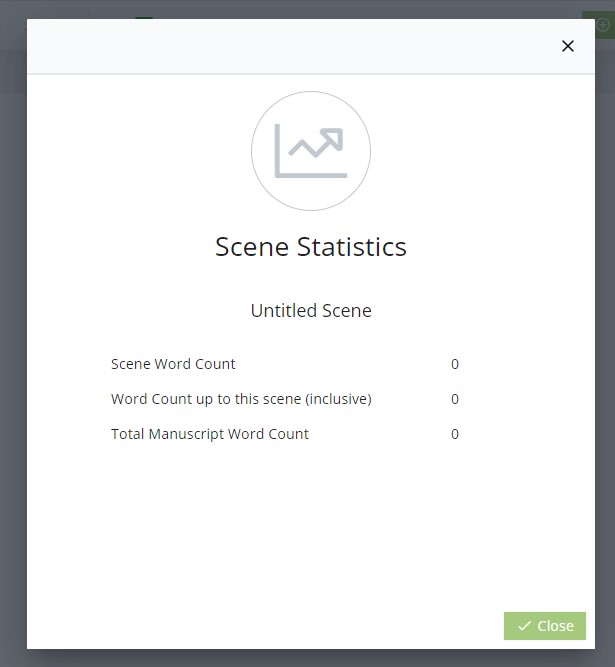
Scene Statistics
To the right of the + Scene button is the Scene Statistics button.
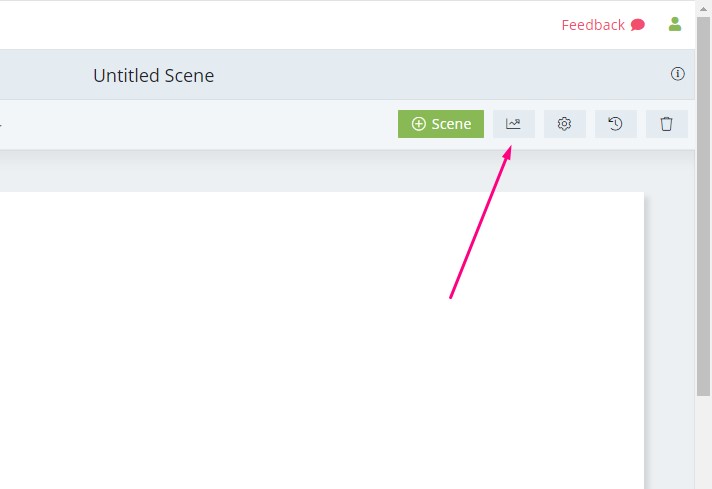
Click on this to bring up a pop-up with the following information:
- Scene Word Count: the number of words in the selected scene
- Word Count up to this scene (inclusive): the total word count of all the scenes up to and including this one
- Total Manuscript Word Count: the total number of words in all your scenes
Settings
In the right-hand side of the toolbar, you can also find a ‘Settings’ button.
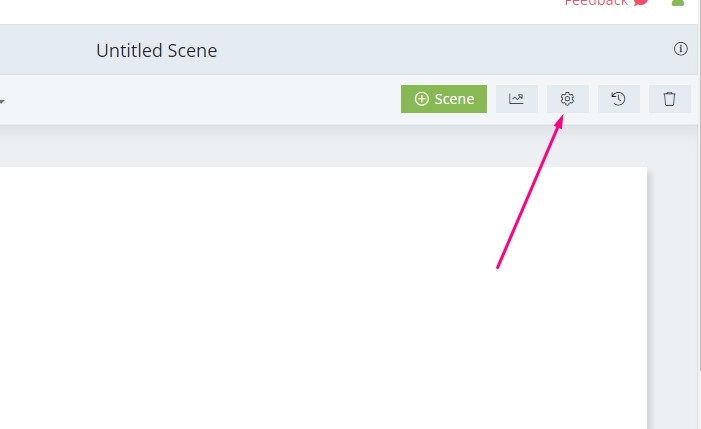
Click this and a popup will appear with the following options:
- Font Size
- Default Font
- Line Spacing
- First Line Indent
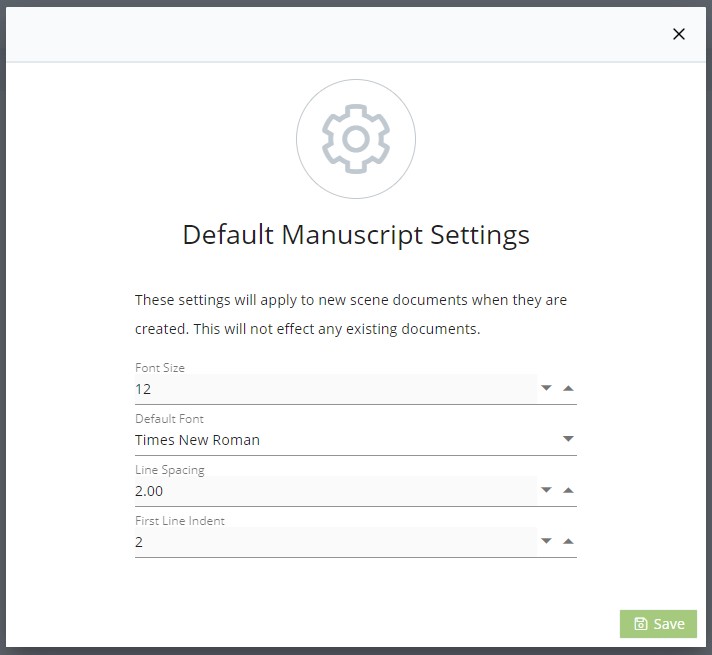
Note that changes made here affect new scenes, but not existing ones.
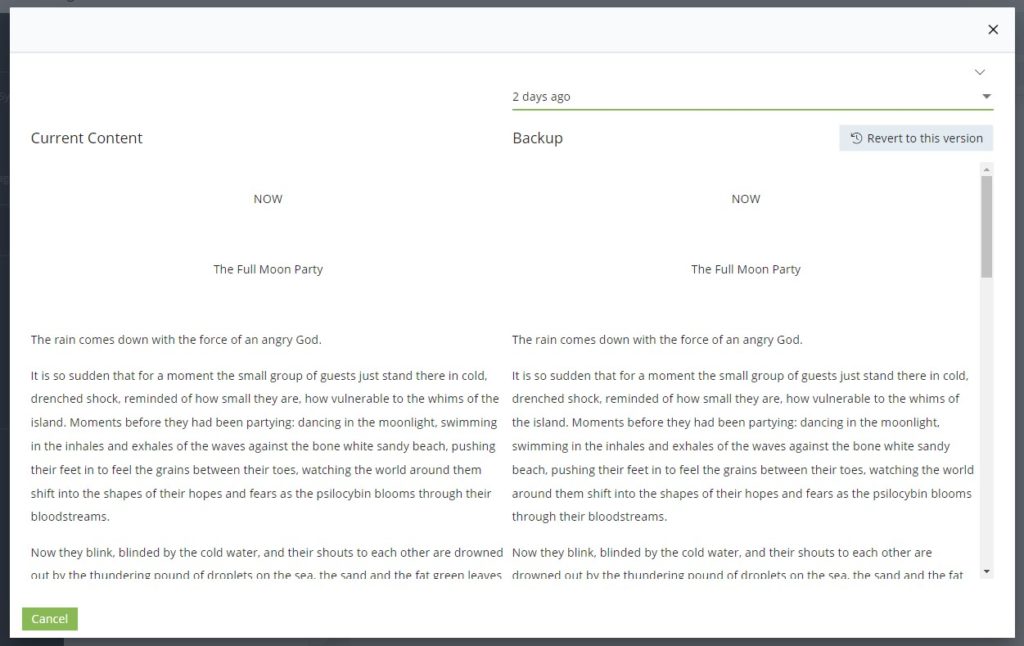
Turn Back Time (Version History)
It’s a good idea to save versions of your draft as you work, in case you make a change that you later wish to recover. The Novel Factory makes this easy by automatically saving copies of your novel in the background.
If you then realise you’d like to see something from an earlier version, you can use the Turn Back Time feature.
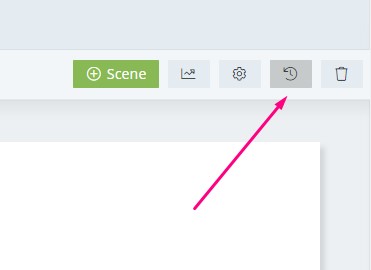
To access the feature, click the icon in the toolbar that looks like a little clock with an arrow going backwards around it.
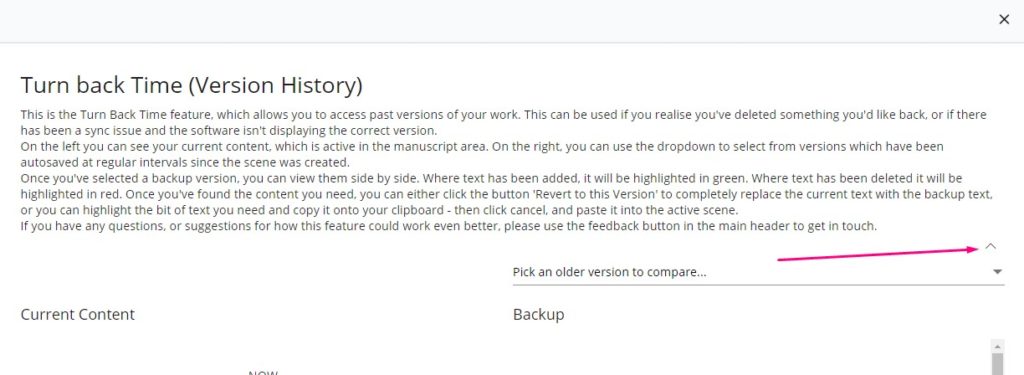
This will bring up a pop-up with detailed instructions. Once you’re familiar with the tool, you can hide the instructions by clicking the little up arrow found in the bottom right.
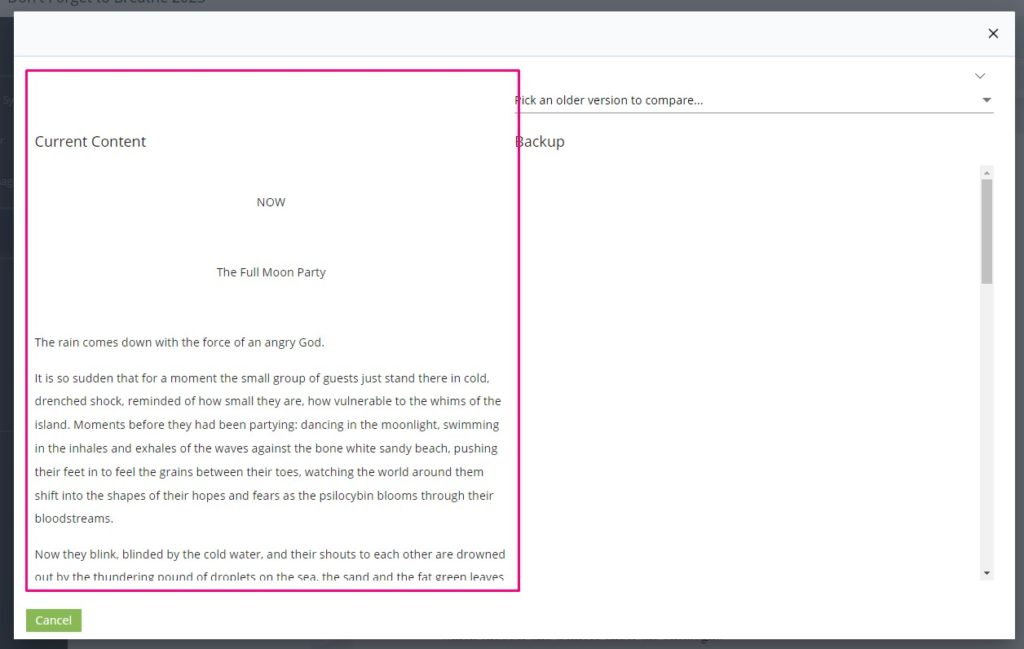
On the left-hand side you will see your current content for the selected scene.
On the right is where you can view old versions.
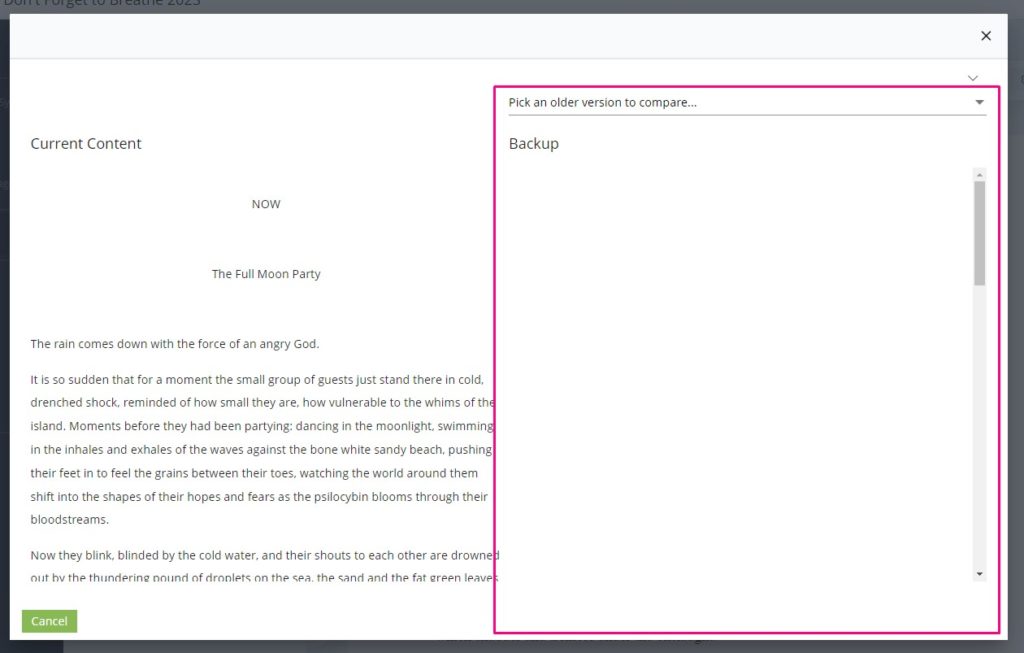
Click where it says ‘pick an older version to compare’.
A list of options will be displayed. Select one and the text from that date will be displayed next to your current content.
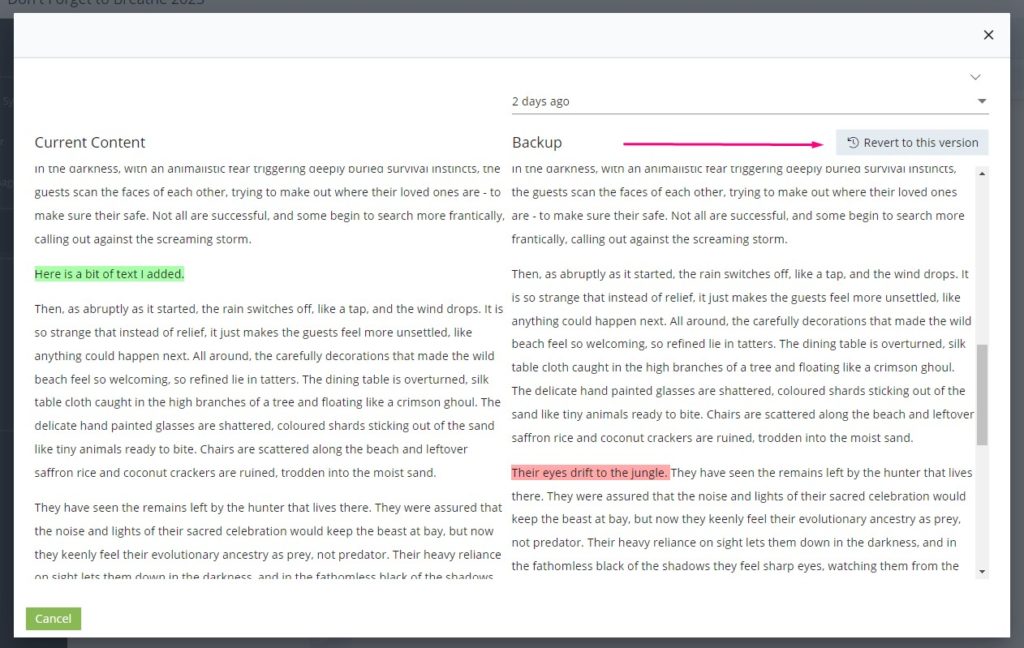
Where text has been added since the backup, it will be highlighted in green. Where it has been deleted since the backup, it will be highlighted in red.
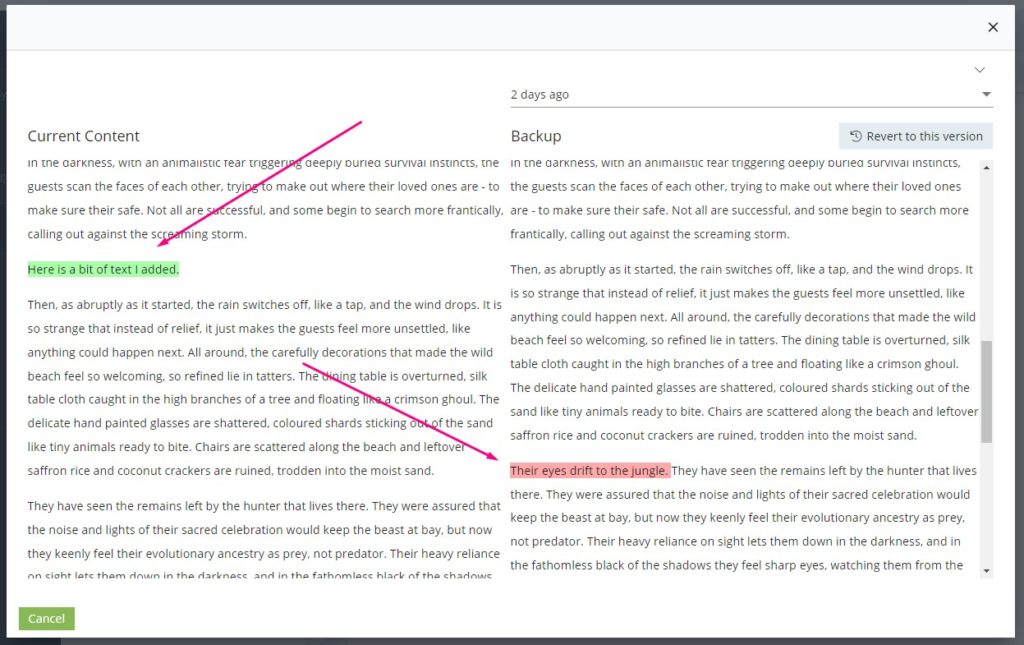
Once you’ve found the content you need, you can either click the button ‘Revert to this Version’ to completely replace the current text with the backup text, or you can highlight the bit of text you need and copy it onto your clipboard, then click cancel, and paste it into the active scene.
Deleting Scenes
If you’d like to delete a scene, use the ‘bin’ icon on the right-hand side of the toolbar.
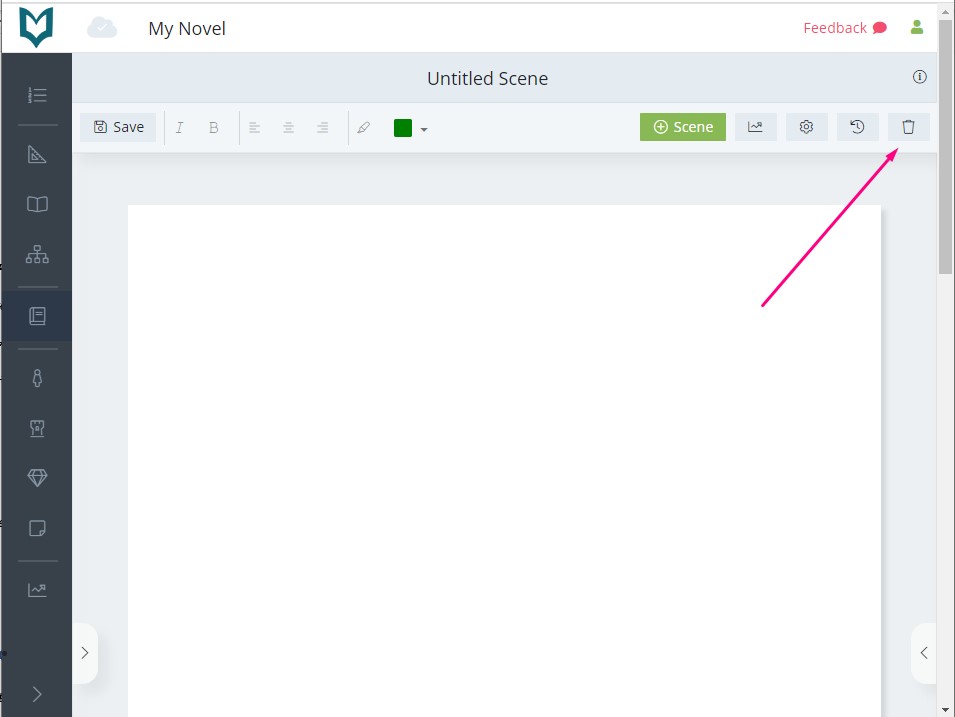
Note: deleting a scene will also delete the corresponding Index Card and any Character Viewpoint Synopsis text entered in Character details. However, subplot events associated with the scene will not be deleted, but will be moved to ‘Unassigned Subplot Events’.
Related Info
On the right hand side of the Manuscript area you can choose to display the Related Info sidebar.
Read more about that here: Related Info Sidebar.