
A quick guide to creating characters
Creating a character
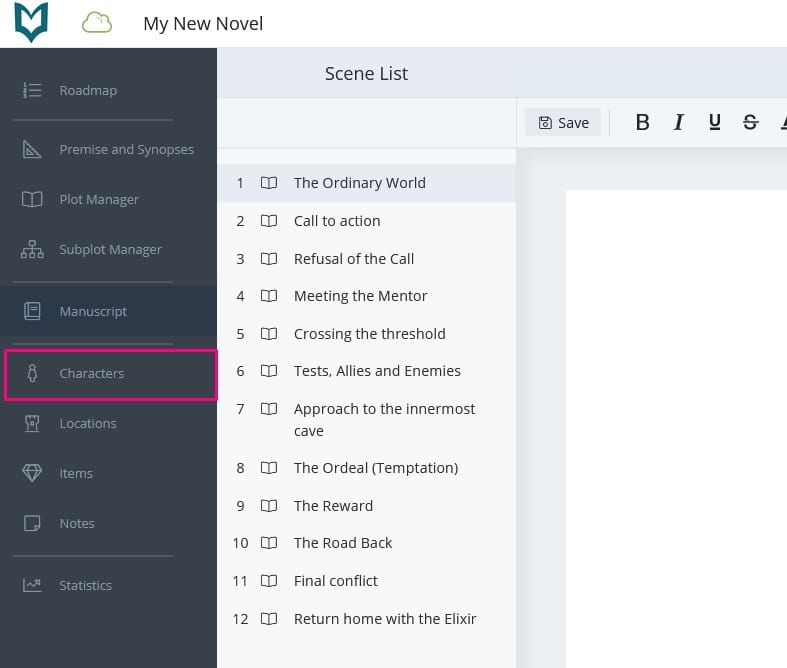
Go to the Characters section by clicking the relevant option in the main navigation – the one that looks like a little person.
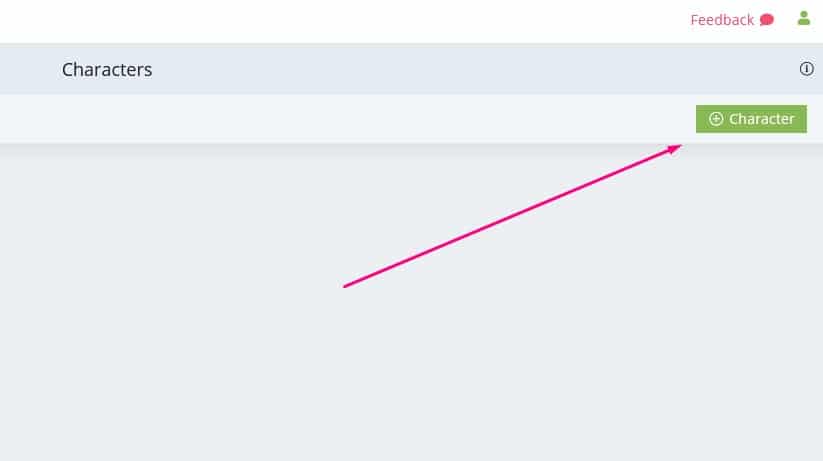
Once you’re in the Characters section, click the green ‘add Character’ button in the top right.
A pop-up will appear where you can enter a name, brief description of the character (this will show on the front of the character card) and an image.
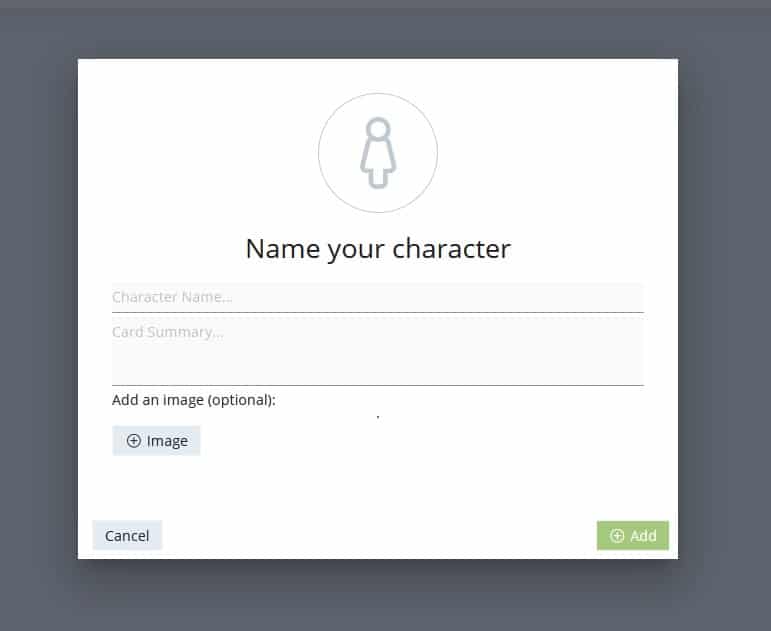
When you are done, click ‘Add’ and a new character card will be created for your character.
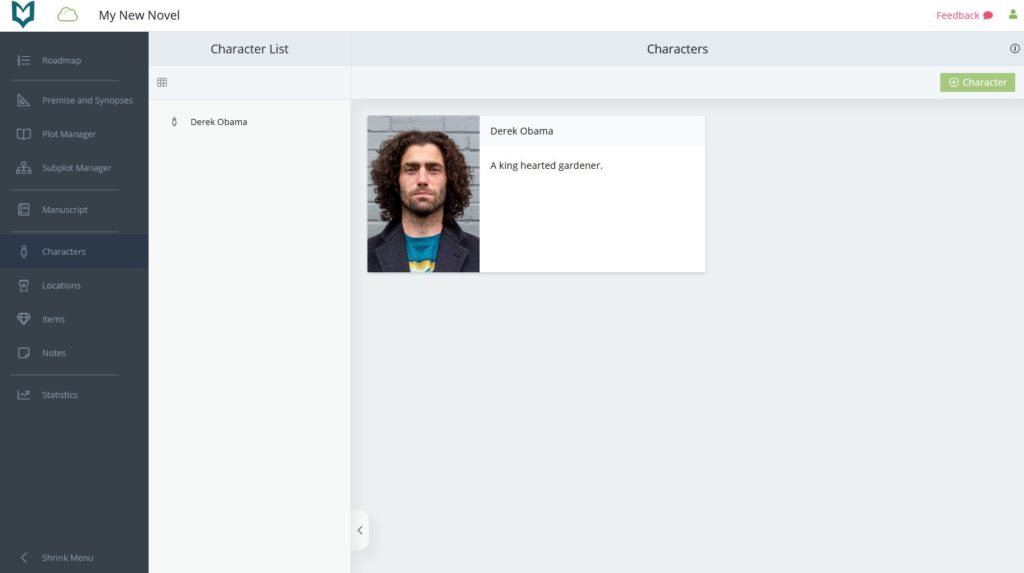
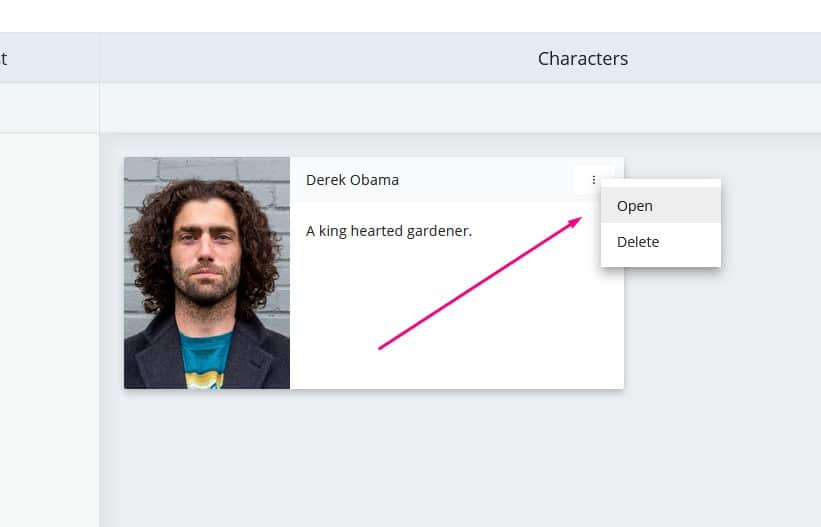
To open the character and edit their details, hover over the card until the context menu button appears (a little icon in the top right of the card with three vertical dots). Click on that button, then click ‘Open’.
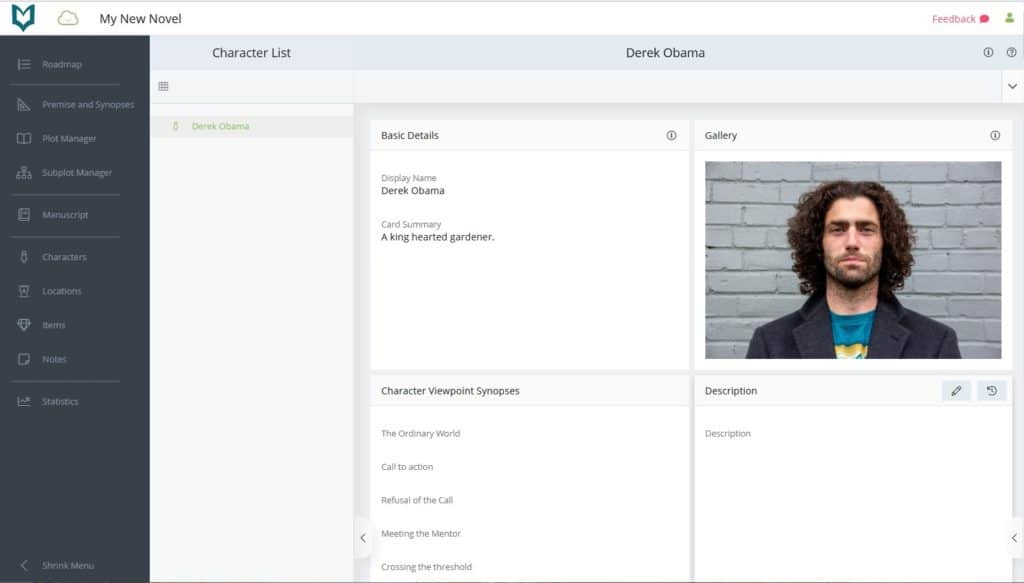
You will be taken to the full details for that character.
Editing a Character
In the Character Details section, there are multiple panels to cover different aspects of your character.
Hover over one of the panels and an edit button will appear. (Note that to keep the interface uncluttered, these buttons are hidden when you are using a computer until you hover your mouse over a given panel).
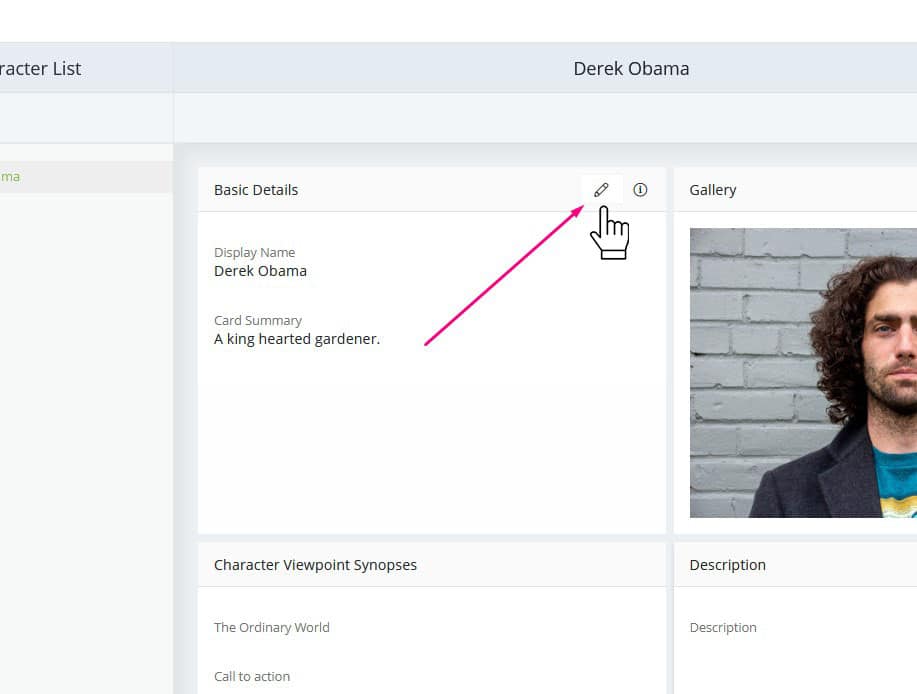
Click that and the panel will open up for editing.
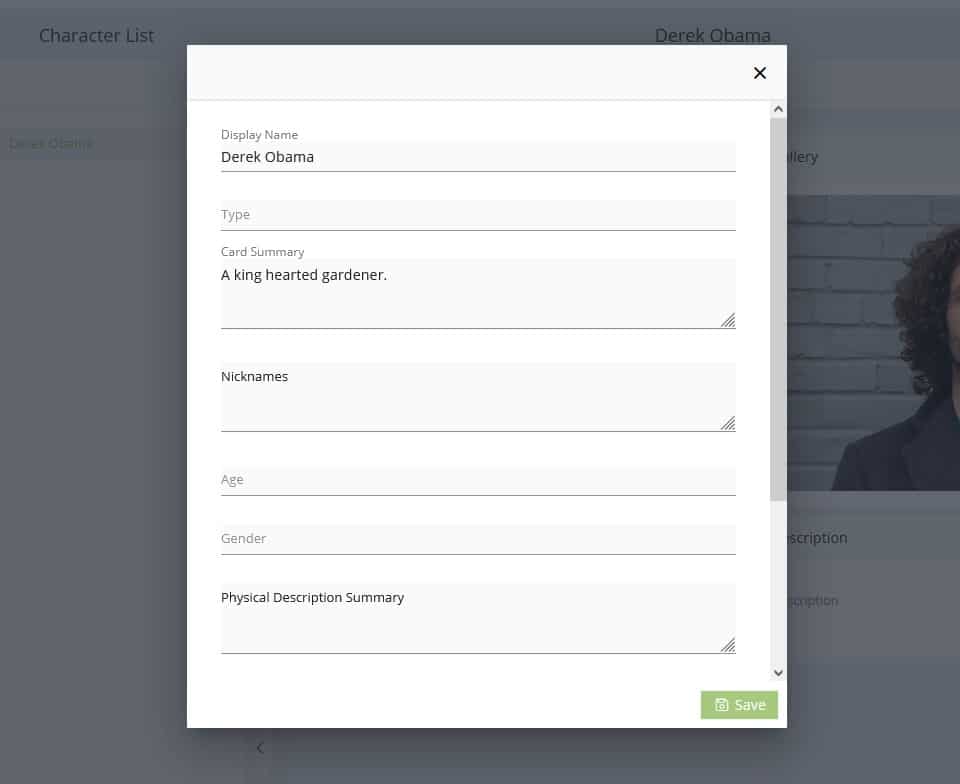
Make the changes you’d like to make, then click ‘Save’.
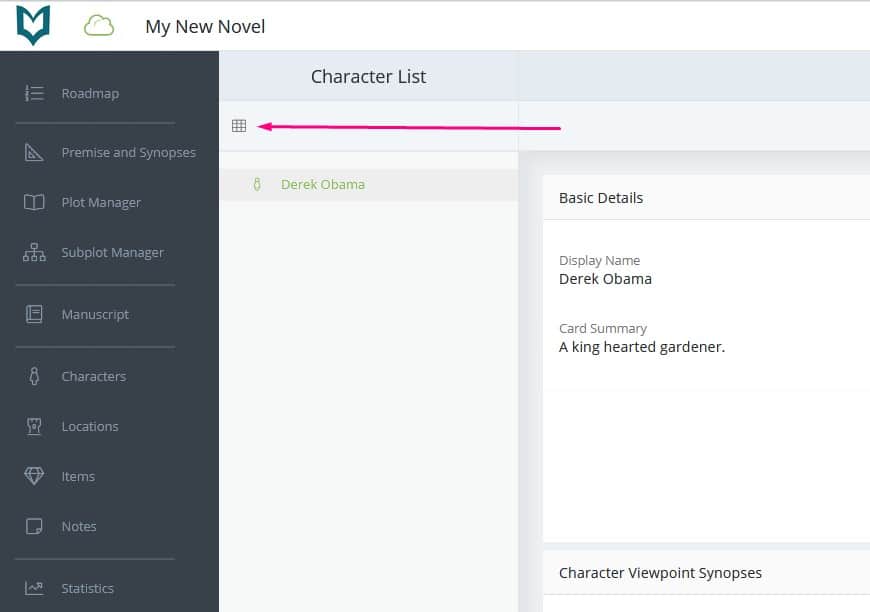
When you have finished editing the character, you can return to the character’s overview by clicking the little grid button just beneath where it says ‘Character List’.
For more information about the character overview and details sections, please see the Characters help article.