Using custom panels
Overview
Custom panels allow you to create your own panels and choose the content that goes in them.
We offer a range of panels with questions carefully designed to help you develop your characters, locations and more.
However, we know that many writers will have their own preferences for what data they wish to keep track of.
This article explains how to create custom panels and fields, how to edit them, and how to select which panels are visible in the display and in what order.
Where are custom panels available?
Custom panels are currently available for Characters, Locations and Items, as well as the Premise and Synopses section.
What types of custom panels are available?
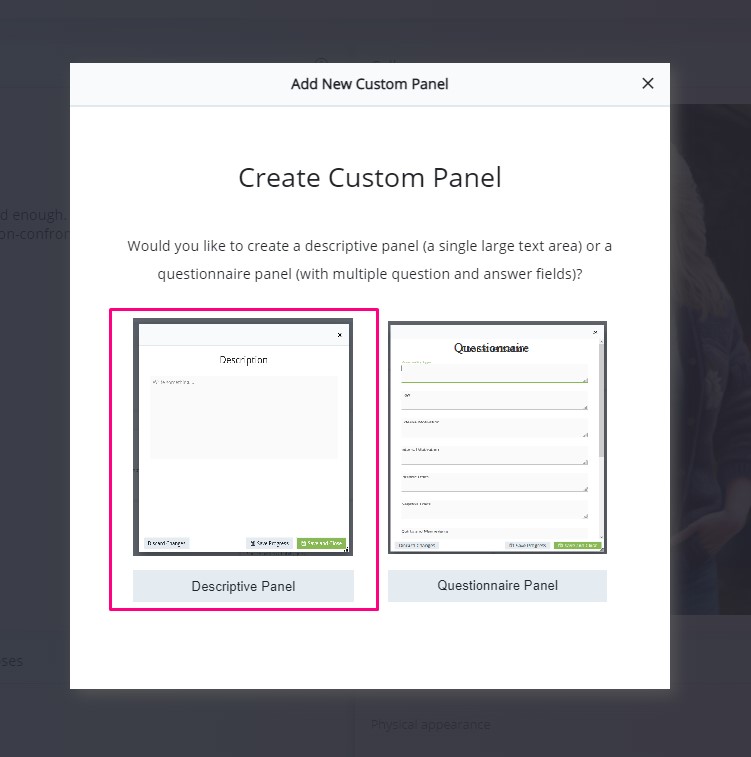
Custom panels come in two forms: descriptive and questionnaire.
A descriptive panel has a title and a single large area to enter text.
A questionnaire panel allows you to enter multiple questions, and each will have its own small area to enter text.
Creating a custom descriptive panel
When you create a custom panel, it becomes available for all the entries in its section. In other words, if you add a custom panel to a character, it will be available in all characters.
To create a custom panel, go to either the overview page or the details page for a character, location or item.
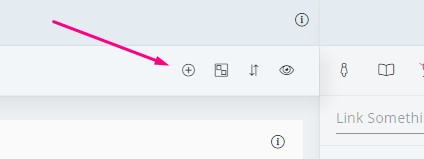
Click in the plus icon in the toolbar:

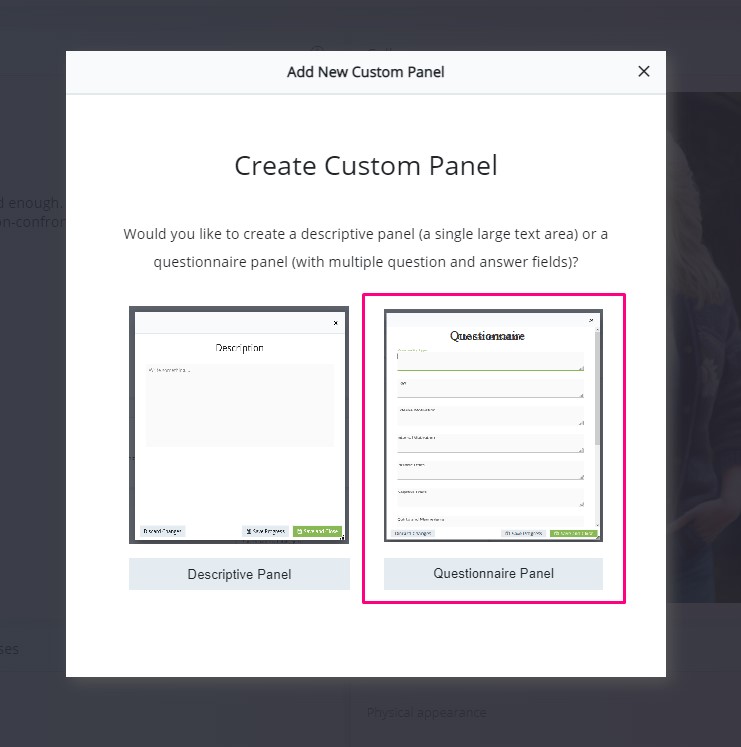
Select ‘Descriptive Panel’.
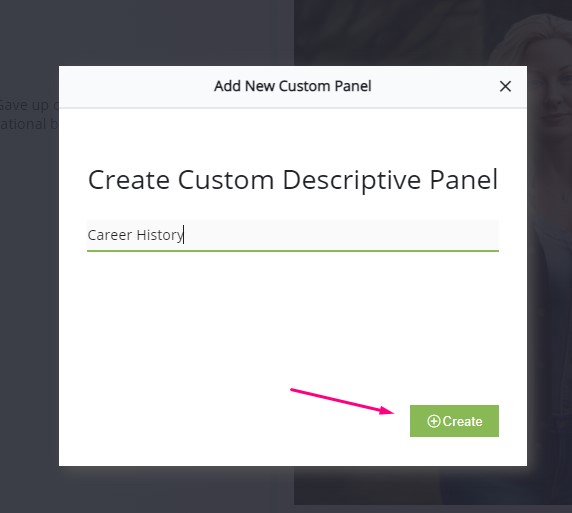
Choose a header/title for your panel. For example, if you want the panel to be where you enter details of the character’s career history, call it ‘Career History’.
Once you’ve entered the title for the custom panel, click ‘Create’.
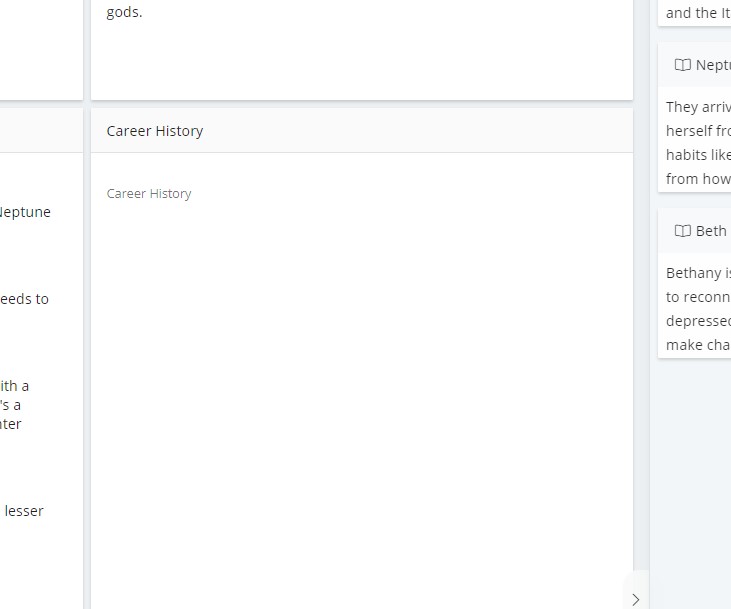
A new custom panel will be created and added at the bottom of the section:
Entering content into a descriptive panel
To enter content the custom descriptive panel, hover over the panel and click the ‘edit’ button which appears.

A pop-up will appear where you can enter and edit the information.
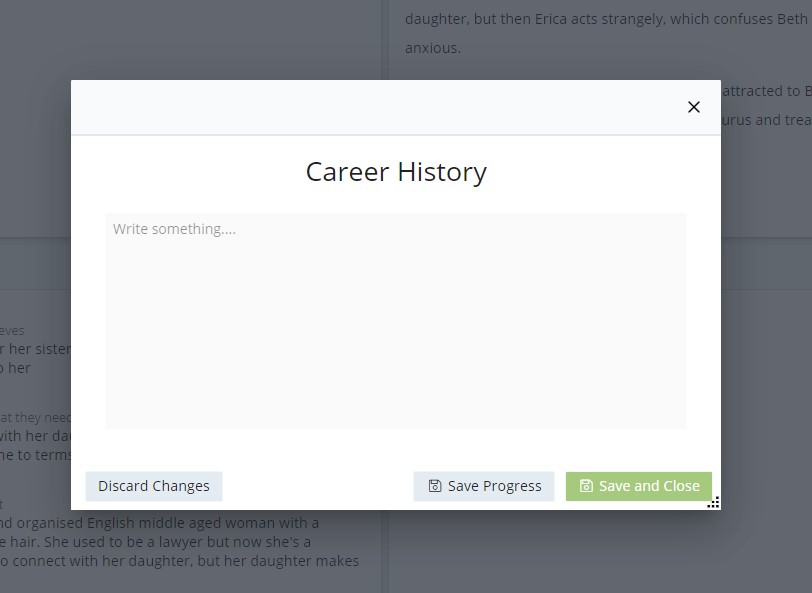
If you are entering a large amount of data, it is recommended to click the ‘Save Progress’ button every now and then, because the software cannot autosave your work until you close the box. This ensures that if there are any computer issues, your work is safe.
If you make changes and decide you don’t want to keep them, click ‘Discard Changes’.
When you have finished entering your data, click ‘Save and Close’ to save your work and return to the previous screen.
Create a custom questionnaire panel
To create a custom questionnaire panel, click the plus icon in the toolbar of one of the sections where custom panels are available.
Select ‘Questionnaire panel’.
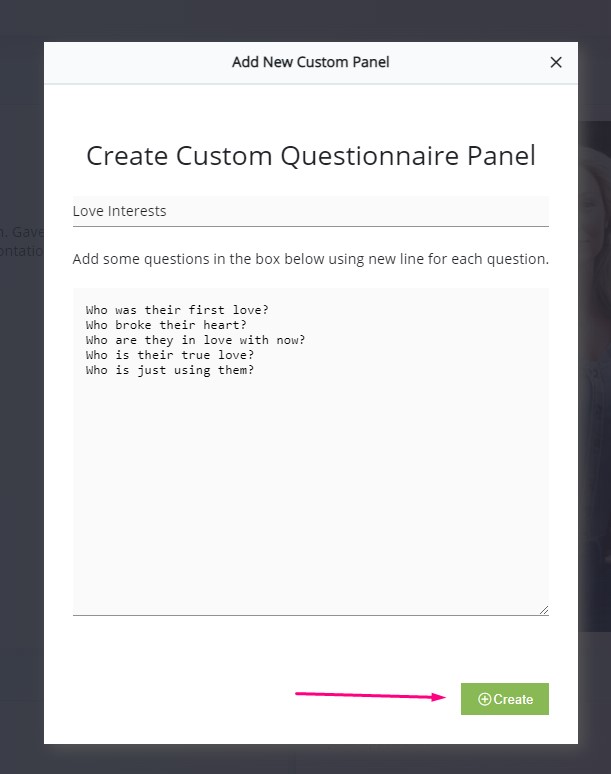
Enter a title for the panel, then a list of questions you would like it to contain, with each question on a new line. For example, you might call the panel ‘Love Interests’, and enter a series of questions relating to their romantic history and current desires.
When you’ve completed your title and list of questions, click ‘Create’.
A new questionnaire panel will be created and added at the bottom of the section:
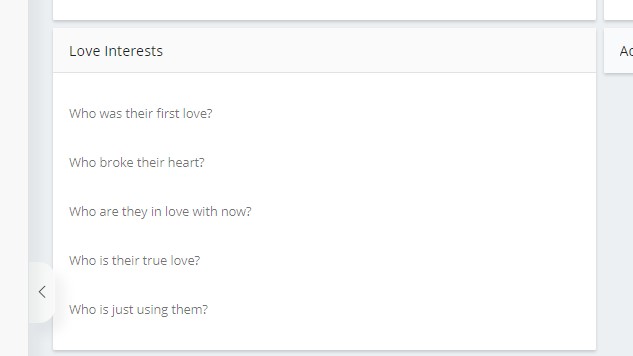
Entering content into a questionnaire panel
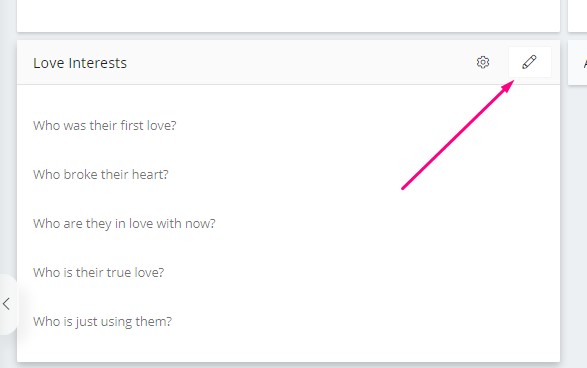
To enter content into a custom questionnaire panel, hover over the panel and click the ‘edit’ button which appears:
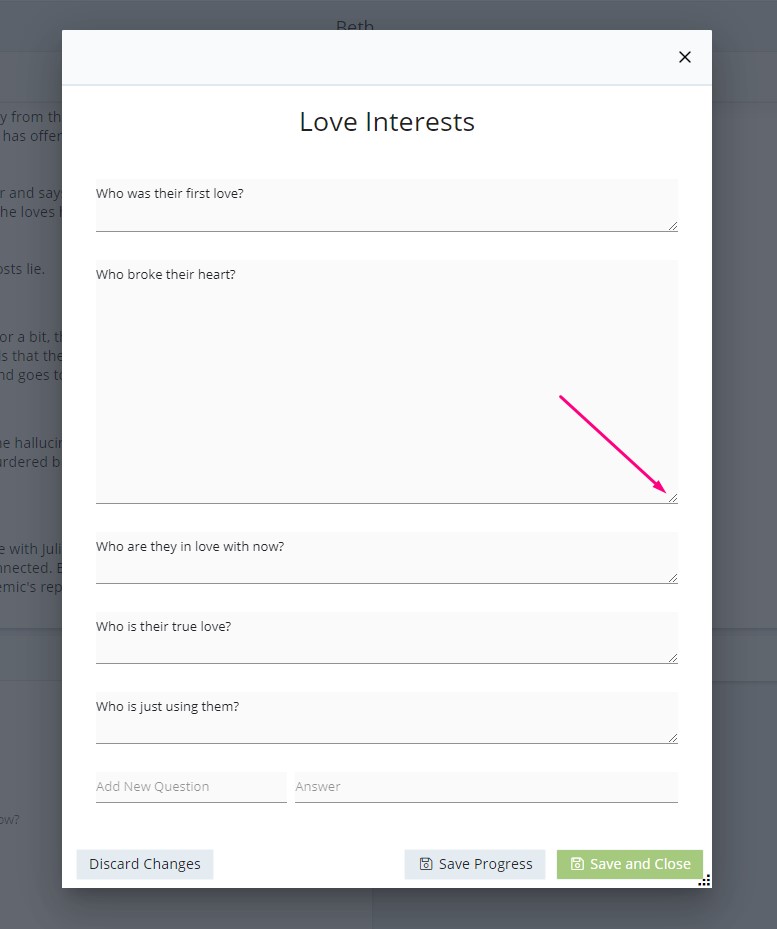
A pop-up will appear where you can answer the questions you created.
Note: If you’d like a little more space to enter your answers, you can grab the corner of one of the fields and drag it down:
If you are entering a large amount of data, it is recommended to click the ‘Save Progress’ button every now and then, because the software cannot autosave your work until you close the box. This ensures that if there are any computer issues, your work is safe.
If you make changes and then decide you don’t want to keep them, click ‘Discard Changes’.
When you have finished entering your data, click ‘Save and Close’ to save your work and return to the previous screen.
Adding a question to an existing custom questionnaire panel
You can add a question to an existing questionnaire panel by using the ‘Add New Question’ field at the bottom.
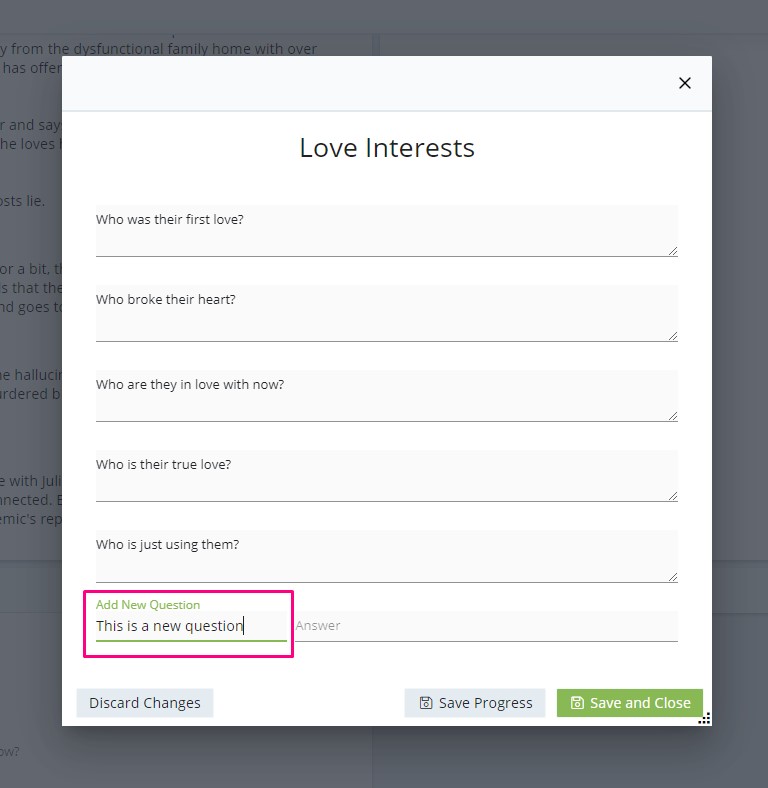
Once you’ve added your new question, click ‘Save and Close’ and the new question will be added to the panel.
Editing Custom Panels
You may want to change the title of a custom panel or the questions in a questionnaire panel after creating it.
To do this, click the ‘Edit Custom Panels’ icon.
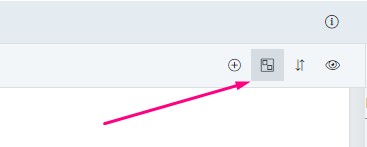
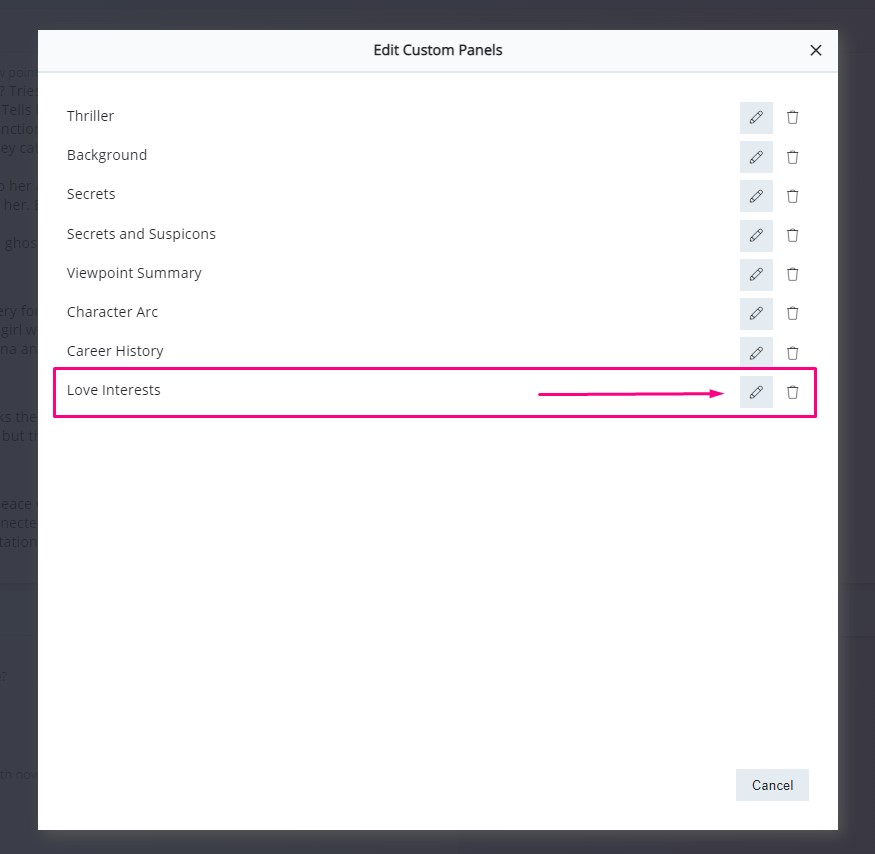
This will bring up a list of all of your custom panels.
Find the panel you would like to edit and click the ‘Edit’ button associated with it:
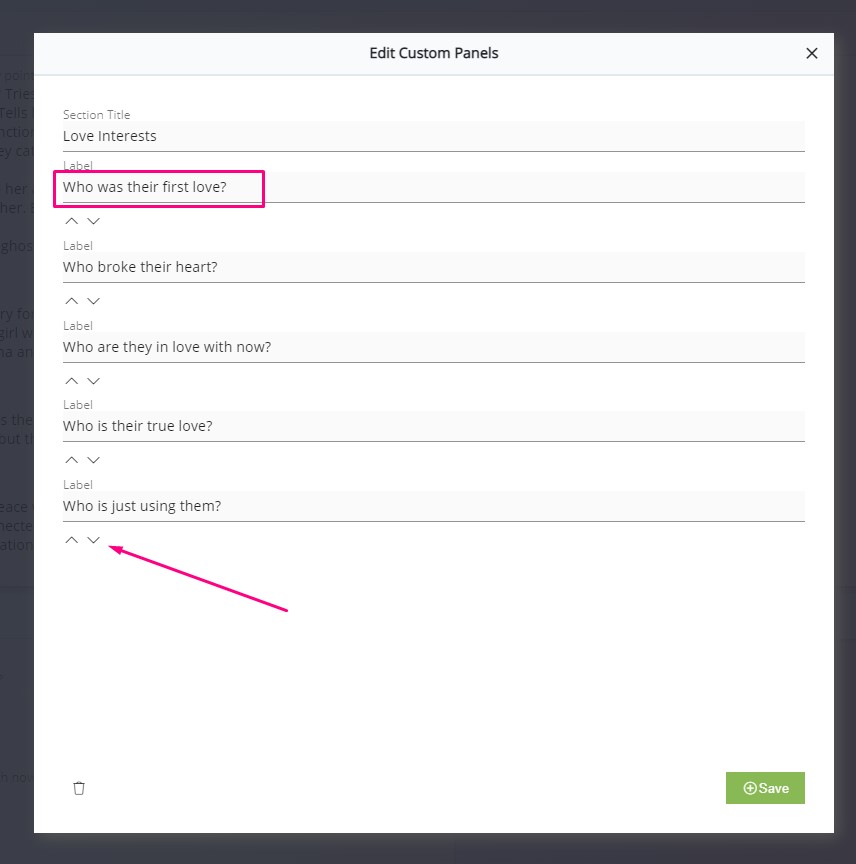
If it is a questionnaire panel, this will allow you to edit all the question text. You can also reorder the questions by using the up and down arrows.
If you choose a descriptive panel to edit, you will be given the option to edit the title.
Deleting a custom panel
Note that if you delete a custom panel it will delete it and all its data from all characters, locations or items. This is not reversible.
If you simply don’t wish to see a given custom panel on a particular page, then instead of deleting it, you can hide it from view. See ‘Selecting which panels are visible’ below.
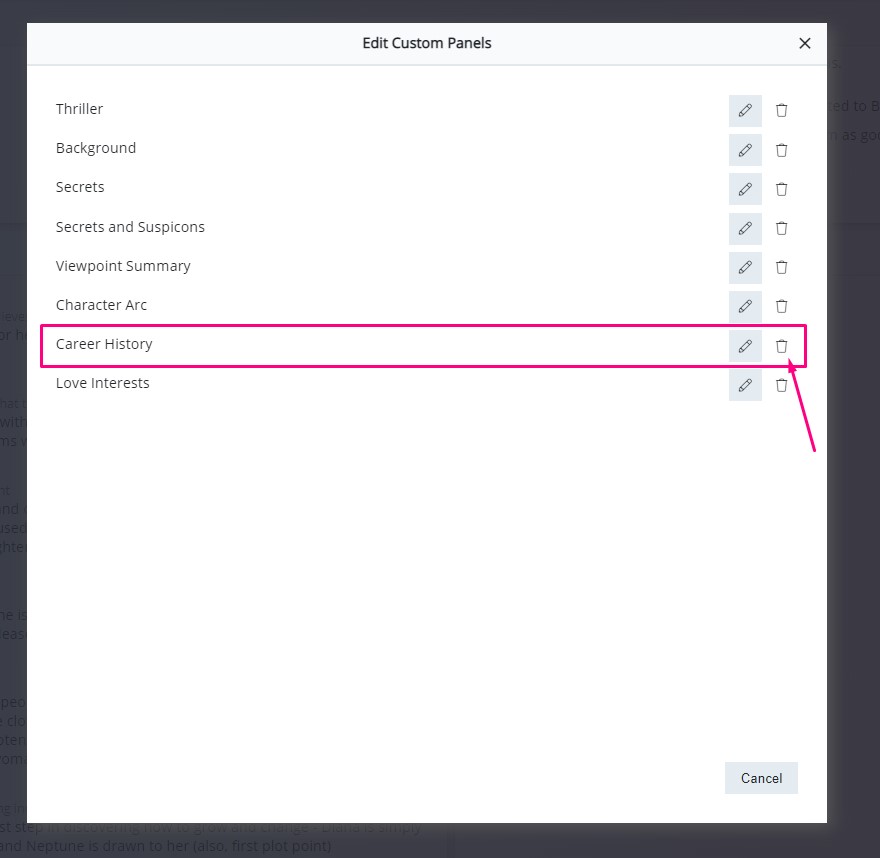
To delete a custom panel, click the ‘Edit Custom Panels’ icon.
This will bring up a list of all your custom fields. Find the custom field you would like to delete and click the bin icon associated with it:
Click proceed on the confirmation panel:
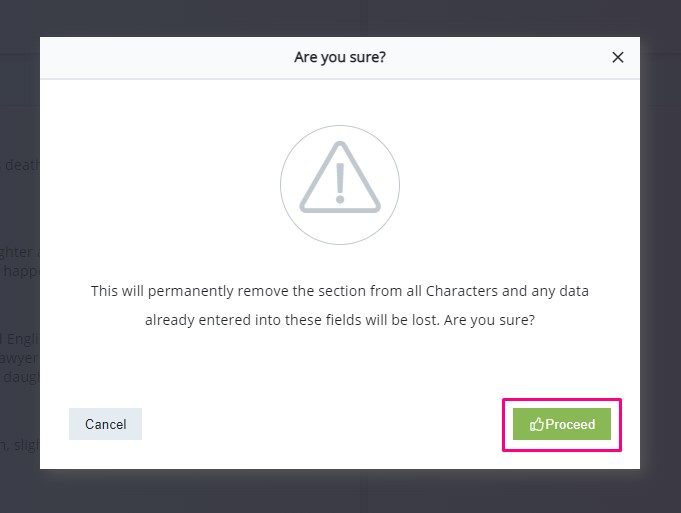
The custom panel will be deleted.
Selecting which panels are visible
When you create a custom panel it is available across all characters, or locations, or items. However, you may not wish for it to apply to every character, or location, or item.
You can therefore choose whether to hide or display any panel (custom or classic) on any given character, location or item.
To do this, click the ‘Show/Hide Panels’ button in the toolbar:
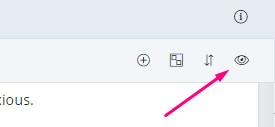
This will bring up a pop-up with a list of all available panels for that character, location or item – both classic panels (the ones that are provided for you by The Novel Factory) and custom panels (ones you have created yourself).
To have a panel show for a given character, item etc. keep the box checked. To hide it, uncheck the box.
This applies to the specific character, location or item you are viewing. It will not affect any of the others.
Reordering panels
You can also change the order in which panels display.
Note that unlike the show/hide option, this reordering will affect all characters, or locations, or items. So if you change the order of the panels for one of the characters, the new order will be displayed for all the other characters as well.
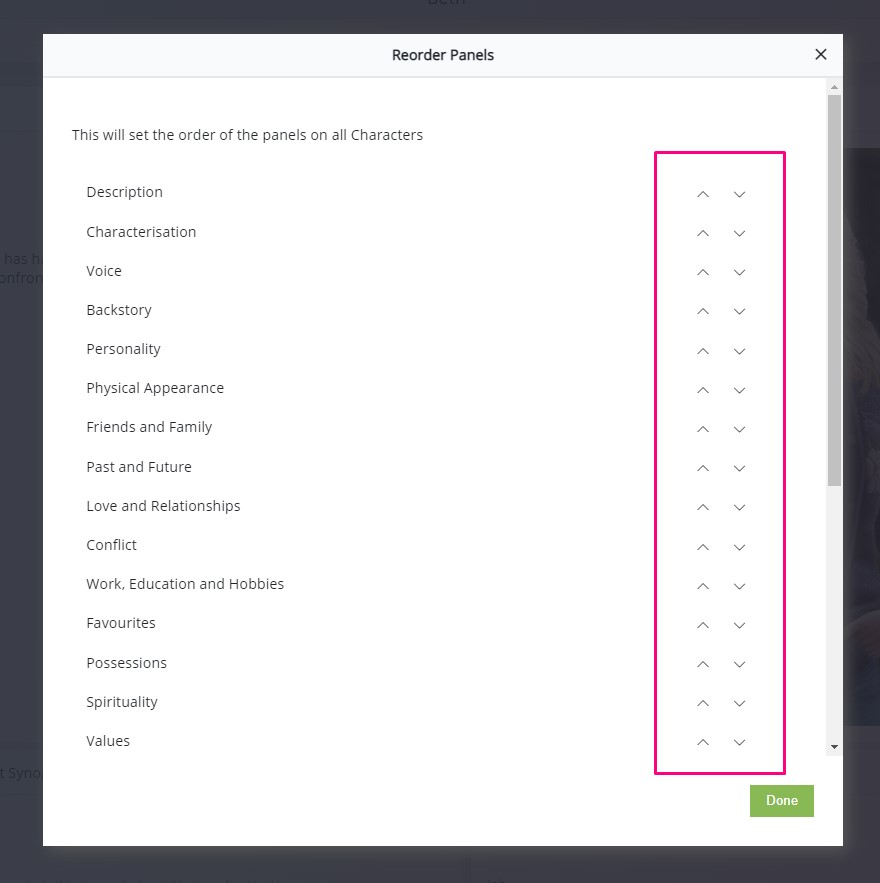
To reorder the panels, click the ‘Order Panels’ icon.
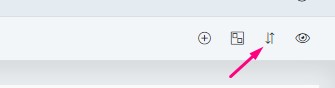
This will bring up a pop-up with all the available panels. To reorder them, use the up and down arrows on the the left. When you are done, click ‘Done’.