
Import Your Novel from Word
You can import your manuscript from Word into the Novel Factory.
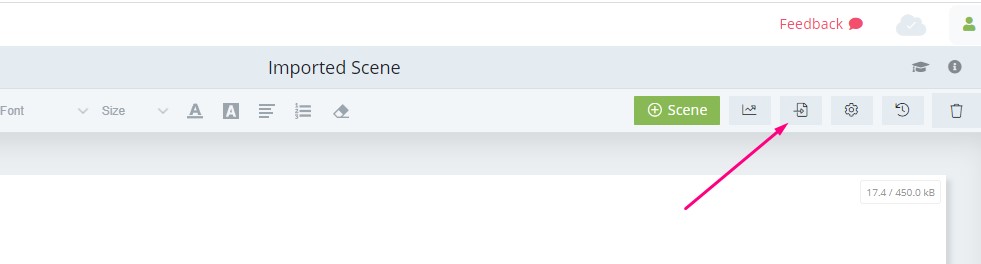
To do this, go to the Manuscript section of the software.
Search for the ‘import’ icon in the toolbar, on the right hand side.
This will bring up a popup so you can begin the process.
The following sections cover all the aspects of the import process.
Using Scene Dividers
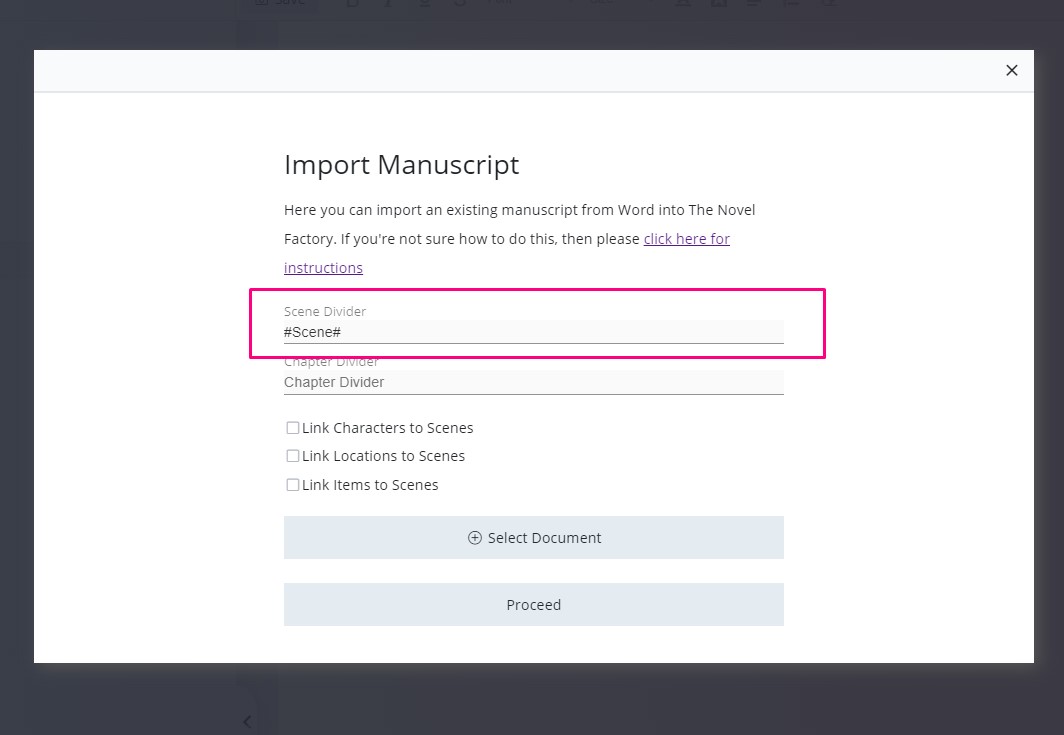
First you need to establish your Scene Divider.
The Novel Factory can automatically generate scenes to match those in your manuscript, but in order to do this, you need to tell the Novel Factory where your scene breaks are.
You do this using a Scene Divider.
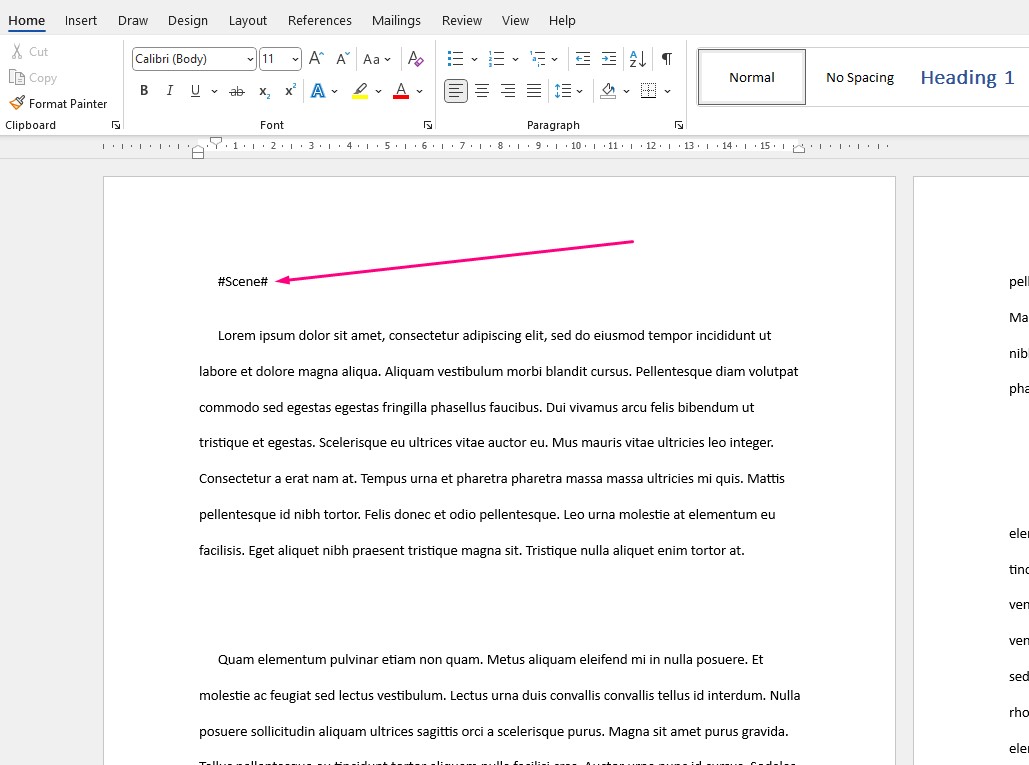
The default Scene Divider is #Scene#.
To use this, open up your manuscript in Word and type #Scene# anywhere you want a new scene to start.
IMPORTANT – Scene dividers are case sensitive. So if you’re using the default one, it must be #Scene# not #scene#.
If you prefer to use a different divider, simply enter that into the Import Manuscript popup.
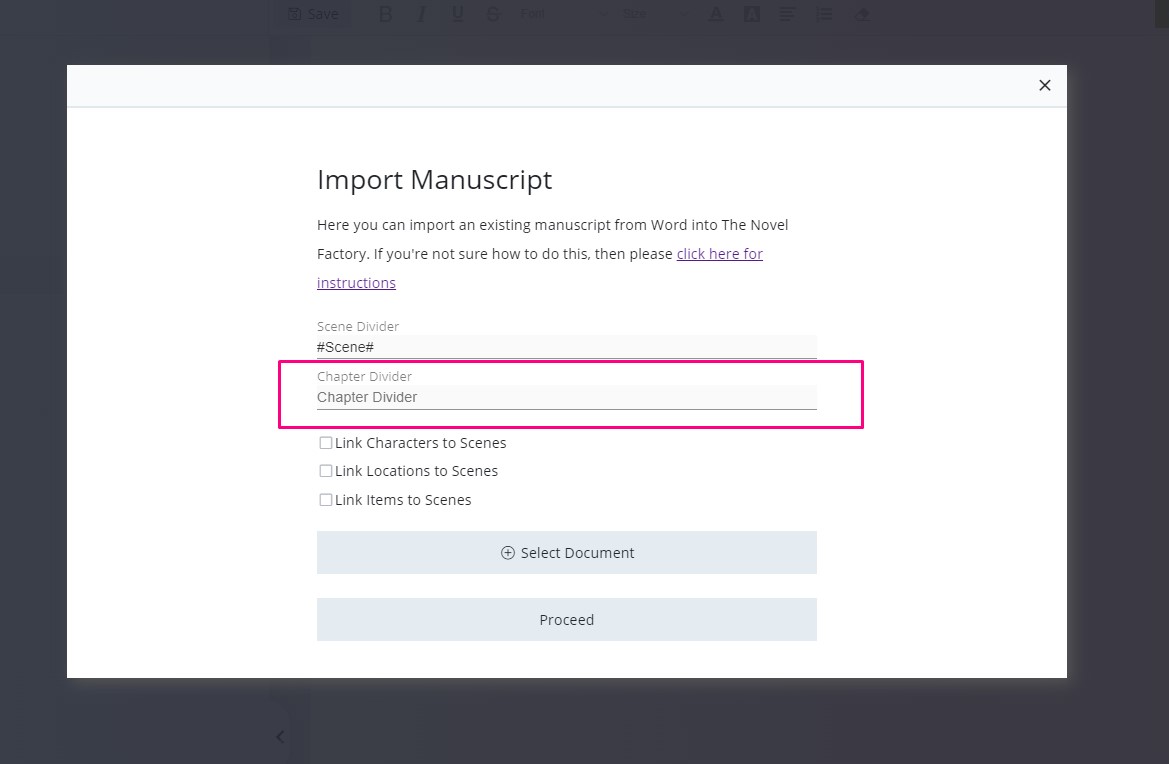
Using Chapter Dividers
Chapter Dividers work in the same way as scene dividers – see above.
Linking Characters, Locations and Items to Scenes
The Novel Factory allows you to link things like characters, items, locations and scenes.
If you’re not sure how linking related items works, read this: Related Info Sidebar.
When you import a manuscript, the Novel Factory can scan the text and try to automatically set up these links. So, if a character’s name appears in a scene, then the Novel Factory can link that character to that scene.
Please note that the character will be linked even if they are only mentioned in that scene, rather than actually present, as the Novel Factory cannot tell the difference.
Note – in order to be linked, the characters, locations, items etc must already exist in the project where the novel is being imported.
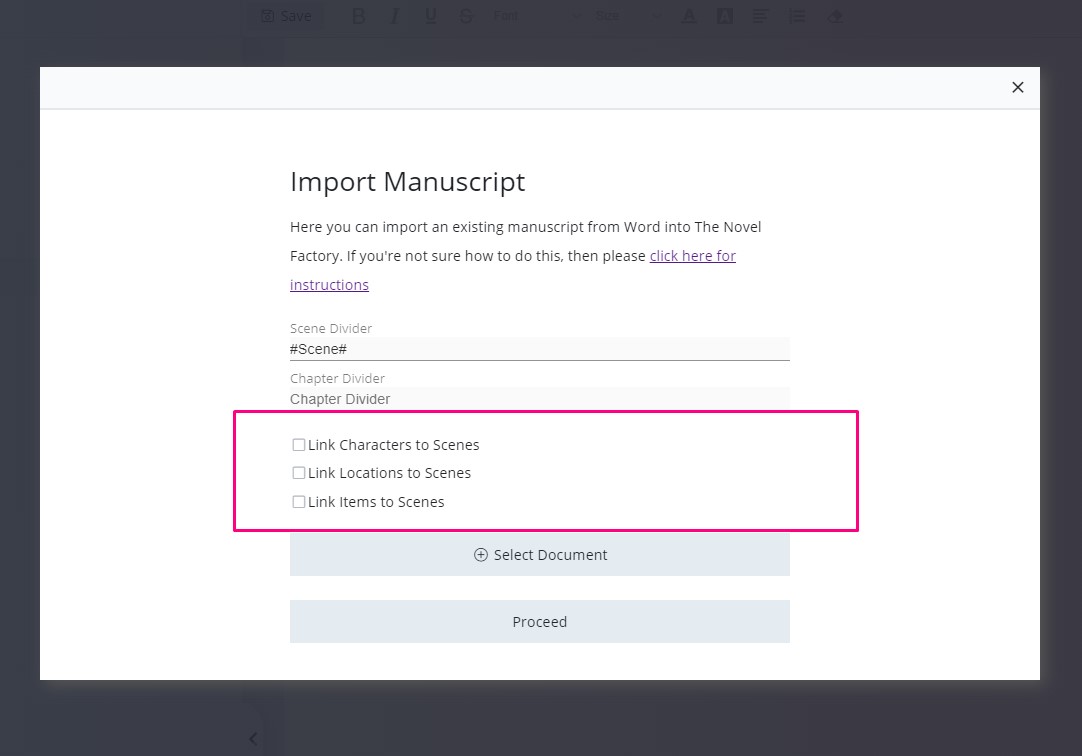
In order to link characters, locations or items to your imported scenes, check the boxes as appropriate.
Selecting your document for import
Once you have chosen all the above settings, click ‘Select Document’ in order to browse for the correct document on your computer.

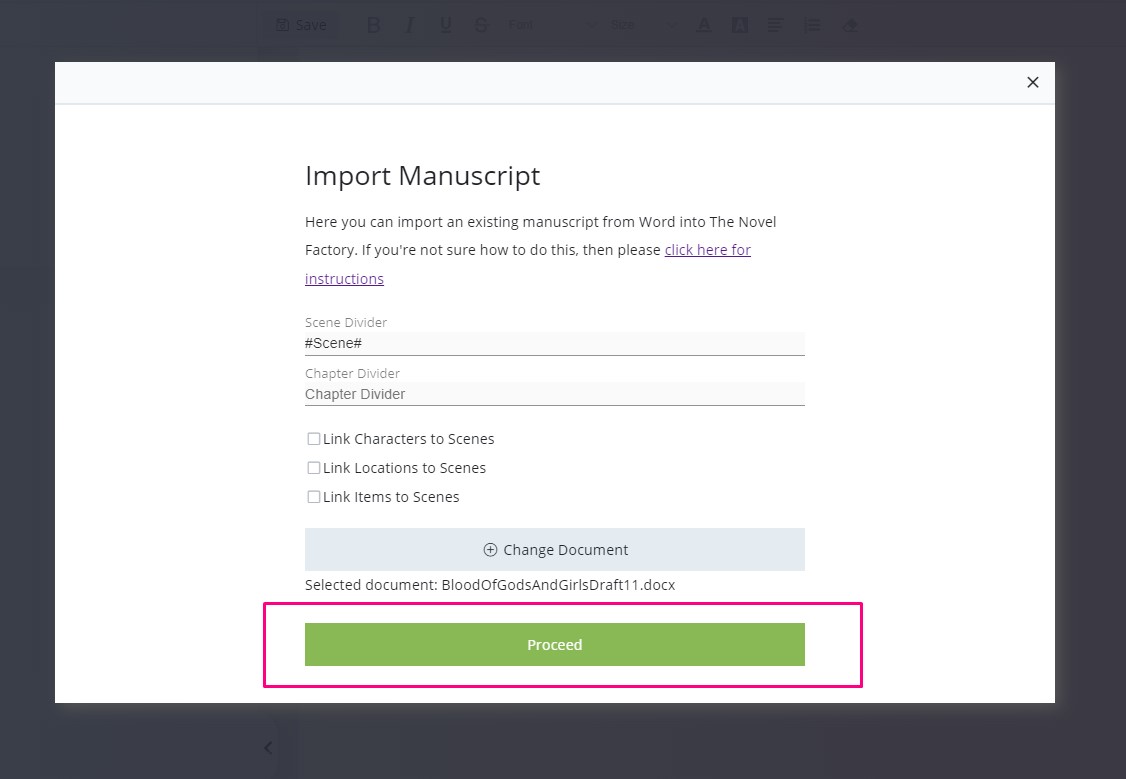
When you have selected that document, its name will appear underneath the ‘Select Document’ button.

If you change your mind, you can use the same button (which now says ‘Change Document) to select a different document.
When you are ready, click ‘Proceed’.
Document approved
Hopefully, your document will be approved. You will see a message that says ‘your document has been successfully processed’, and it will tell you how many scenes and chapters it has detected. Double check this to see if it looks right.
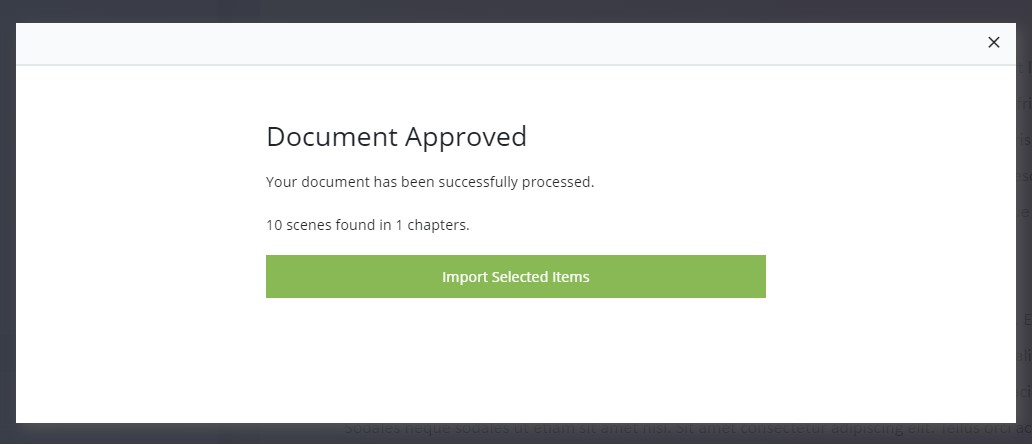
If it does, then you can click ‘Import Selected Items’ and your manuscript will be imported.
Import Manuscript Error
If you get an import manuscript error, please check the following issues:
- That the text in the manuscript has been correctly split up using scene dividers and that no one scene is excessively long. There is a maximum limit on the size of a scene, and the software will not import a document which exceeds this limit.
- Check that the scene dividers are entered correctly. Note that that are case sensitive.
- Check that you are importing a Word document, rather than any other type of document.
If you’re still having trouble then please contact us on info@novel-software.com. Please note that the more information we have, the easier it will be for us to resolve the issue quickly.
Here are some things you can send us to help:
- A screenshot of any error messages
- A copy of the document you are trying to import
- Any other details about the process that might be relevant